Written by: Ryan Dunlop, CEO and Founder of Full Arch Masters and graduate from the Harvard School of Dental Medicine
Key Takeaways
- A true same-day full-arch digital workflow uses an integrated end-to-end system that coordinates clinical, digital, lab, and treatment coordination roles instead of relying on hybrid or partial digital approaches.
- The provisional prosthesis is designed and approved before surgery begins, so the lab adapts the pre-approved design from post-operative capture data instead of starting from scratch.
- Photogrammetry combined with intraoral scanning is the preferred method for full-arch implant position capture because it avoids the cumulative stitching errors common in intraoral scanning alone.
- Clear go/no-go gates for immediate loading, including primary stability thresholds, implant distribution, and systemic risk factors, protect both patients and implants when same-day delivery is not appropriate.
- Full Arch Masters provides the complete training and implementation program that teaches the entire same-day digital workflow system to the whole team with continued alumni support.
Who This Guide Serves and What You Need in Place
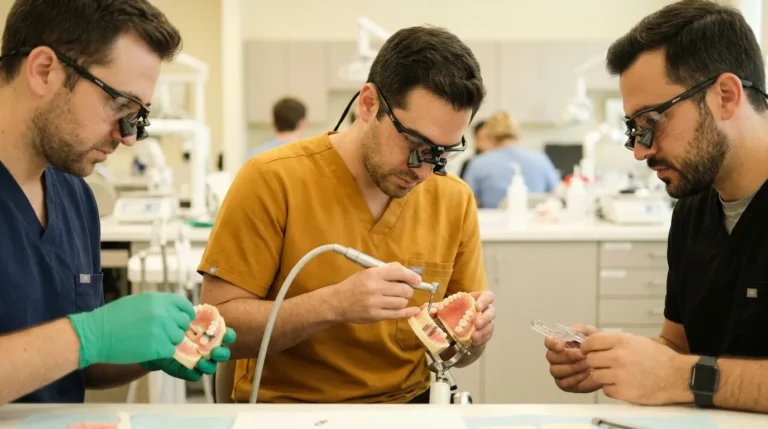
This guide serves the dentist, oral surgeon, periodontist, or prosthodontist who has committed to a fully digital workflow and now needs the sequence, team roles, lab timing, and failure protocols. It also serves the in-house lab technician who designs and finishes the prosthetic side of those cases.
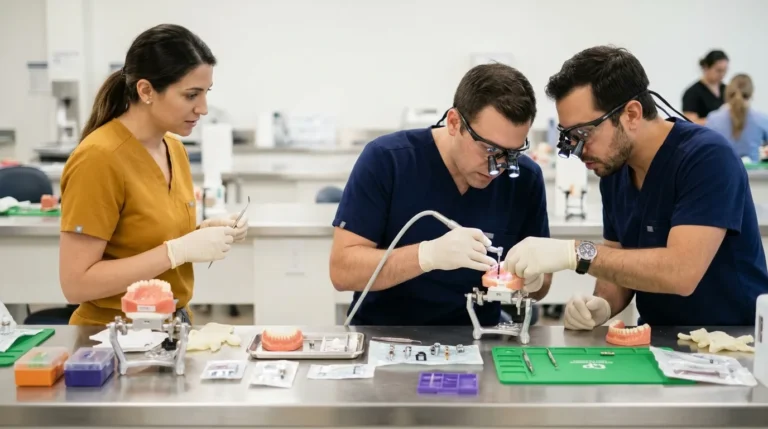
Four roles run this workflow at volume:
- Dentist/Operator, plans, places, and verifies
- Surgical Assistant, captures records and manages chairside delegation
- In-House Lab Technician, designs, prints, and finishes
- Treatment Coordinator (TC), manages the patient, the schedule, and the handoff
In-house and outsourced lab models both work and change the timing protocol significantly. With an in-house lab, the provisional can be printed and finished while surgery is still in progress. With an outsourced lab, files must transfer before the first incision, and the lab must be pre-briefed on the design so that post-operative capture data triggers finishing rather than a fresh design.
Seven equipment categories support this workflow: intraoral scanner, CBCT unit, facial scanner, photogrammetry system, design software, 3D printer, and milling capability, either in-house or outsourced. The FAM Method remains system-agnostic at the hardware level.
Seven FAM Method Steps and Five Operational Phases
The FAM Method uses seven steps that map cleanly onto five operational phases. The seven steps are preoperative records and data acquisition, photogrammetry and intraoral scanning, CBCT and digital treatment planning, exocad design, immediate-load conversion, final zirconia design and finishing, and FP1-specific design with team implementation and workflow scaling. FAM is a certified exocad reseller for DentalCAD, exoplan, and ChairsideCAD, and all digital design instruction uses exocad.
- Phase 1: Pre-operative data acquisition and the digital patient merge
- Phase 2: Prosthetically driven planning and pre-designing the provisional before surgery
- Phase 3: Surgical execution and immediate loading
- Phase 4: Implant-position capture with photogrammetry plus intraoral scanning
- Phase 5: Lab handoff, same-day delivery, and post-op transition to the final
Phase 1: Pre-Operative Data Acquisition and the Digital Patient Merge
The digital patient is assembled before surgery day. Four records are required: CBCT (DICOM), intraoral scan (STL), facial scan (PLY or OBJ), and a digital bite registration. Each record belongs to a specific team member. The assistant typically handles the intraoral scan and facial scan, the dentist reviews the CBCT, and the lab technician confirms that design files are ready before the surgical date is confirmed.
The CBCT supplies bone volume, density, and anatomical proximity data. The intraoral scan supplies surface geometry. The facial scan supplies lip dynamics, midline, and extraoral esthetic reference. The bite registration functions as a distinct record because it establishes the vertical dimension of occlusion that supports the provisional.
All four datasets merge in planning software to create one unified digital patient. This merge forms the foundation of the entire workflow. A poorly registered dataset at this stage propagates error through every downstream step. Modern CBCT scanners provide isotropic voxel sizes as small as 0.1 mm, enabling accurate assessment of bone dimensions and proximity to anatomical structures when combined with intraoral scan data.
Phase 2: Prosthetically Driven Planning and Pre-Designed Provisionals
The provisional is designed and approved before the patient sits down for surgery. This single operational choice separates a reliable same-day system from a same-day attempt.
Implant position is planned from the prosthetic backward. Tooth position, lip support, and vertical dimension lock first. Implant angulation, depth, and distribution then support a screw-retained connection at those tooth positions. Reverse-engineering the framework from the finalized prosthetic design, rather than building it off a raw abutment-level scan, tends to produce more predictable passive fit because framework geometry follows tooth position.
The FP classification, FP1, FP2, or FP3, is chosen before implant planning begins. FP1 demands minimal bone reduction and precise angulation. FP2 allows some ridge lap. FP3 tolerates more bone loss and gives more flexibility in implant number and position. A wrong classification at this stage appears later as a mismatch during milling.
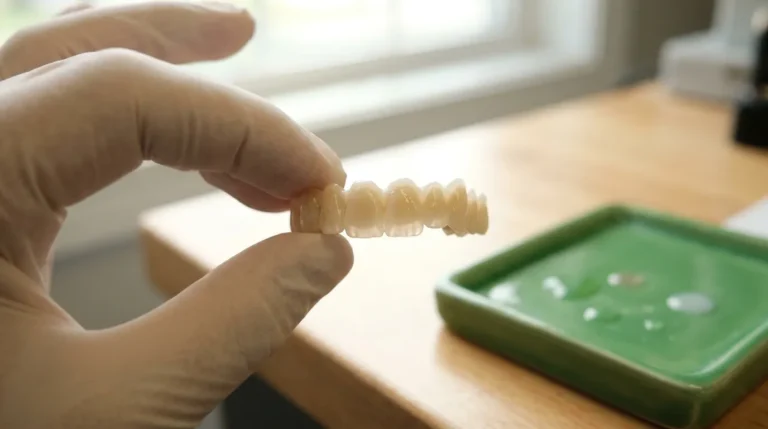
The pre-approved design moves to the lab with the surgical guide files. The lab receives the finalized prosthetic STL, the implant position plan, the FP classification, and the material specification. They receive this package before surgery day, with enough lead time to print the provisional shell so that post-operative capture data triggers finishing rather than a new design. In stackable-guide protocols, the provisional prosthesis is fabricated in advance from the same digital treatment plan used for surgery and delivered at the time of the surgical appointment.
Phase 3: Surgical Execution and Immediate Loading
Surgery day follows the pre-approved plan step by step. The sequence is to seat the surgical guide, verify base-frame stability, complete bone reduction per the plan, place implants per the osteotomy guide, record insertion torque at every site, seat multi-unit abutments, and verify angulation before moving to capture.
Torque is recorded at every implant position because even one low-torque site changes the loading decision for the entire arch. Consensus literature on full-arch immediate loading has commonly reported inclusion thresholds around 30 Ncm insertion torque and ISQ values around 60, depending on the protocol and study design, while some clinicians use a working target above 45 Ncm as a more conservative internal threshold. These values function as protocol-dependent reference points. Each implant is assessed within the whole biomechanical system.
The go/no-go gates for same-day immediate loading are:
- Primary Stability: Insertion torque meets the protocol threshold at every implant site included in the provisional, with resonance frequency analysis as a supplemental check when torque leaves uncertainty.
- Implant Distribution: Cross-arch distribution controls micromovement. A lower-torque implant located between stronger implants and protected from functional load may still be included in the provisional, whereas a low-torque implant in a terminal or highly loaded position is typically excluded.
- Grafting and Sinus-Lift Considerations: Simultaneous augmentation or sinus-floor elevation is generally considered a relative contraindication for immediate loading. In an upper arch with bilateral sinus augmentation, the stable anterior implants may support the immediate provisional while posterior implants in augmented sites remain unloaded.
- Bite Force and Parafunction: Bruxism warrants greater caution. If stability is adequate, immediate loading can proceed with a more conservative occlusal scheme, no distal cantilever, and reduced cusp anatomy.
- Systemic and Behavioral Risk: Patient selection includes systemic health, smoking status, oral hygiene, compliance with post-operative instructions, and occlusal risk. Smoking remains associated with higher risk of early implant failure per a 2024 systematic review and meta-analysis.
When the go/no-go gate is not cleared, the protocol converts to a removable interim rather than forcing a fixed delivery. A prefabricated denture prepared as a contingency can be retained as a conventional removable prosthesis without disrupting the treatment workflow if primary stability is insufficient. This outcome reflects a protocol working correctly.
Phase 4: Implant-Position Capture With Photogrammetry and Intraoral Scanning
This phase determines whether the provisional fits. For full-arch implant position capture, photogrammetry combined with intraoral scanning is the preferred approach.
The combination matters for accuracy. Stereophotogrammetry records photogrammetric markers simultaneously from multiple calibrated cameras and computes each marker’s spatial coordinates, avoiding the continuous surface stitching that intraoral scanners rely on and thereby reducing cumulative stitching error across long edentulous spans. In completely edentulous arches, the lack of stable anatomical landmarks and greater inter-implant distances degrade intraoral scanner image stitching, which makes IOS accuracy more variable in full-arch cases.
A 2025 meta-analysis of 13 studies found stereophotogrammetry was more accurate than intraoral scanning for complete-arch implant impressions in 10 of the 13 studies, with mean angular trueness ranging from 0.24° to 0.80° with stereophotogrammetry versus 0.28° to 1.74° with intraoral scanning, and the IOS upper bound exceeded the 1° threshold considered necessary for passive fit. A 2026 systematic review confirmed that photogrammetry-based workflows aim to mitigate the cumulative stitching errors common in intraoral scanning, though performance varies across different systems and protocols.
Photogrammetry records implant coordinates only. It does not capture soft tissue morphology, prosthetic contours, opposing dentition, or jaw relationships. A combined workflow, photogrammetry for implant coordinates plus intraoral scanning for surface and soft-tissue data, yields a more comprehensive digital dataset for CAD/CAM prosthetic design.
Photogrammetry also does not remove the need for verification. A 2026 in vitro study found no statistically significant difference in linear or angular discrepancy between analog impressions and intraoral photogrammetry, while noting that intraoral scanning with vertical scan bodies may not reliably reproduce complete-arch implant positions because maximum deviations may still be clinically relevant. A 2025 study found that none of 10 digitally fabricated full-arch titanium frameworks fabricated from intraoral scans passed the single-screw test under micro-CT analysis, and recommended incorporating a verification-jig step before final framework fabrication.
Captured implant positions are reconciled with the pre-surgical plan in design software. The photogrammetry data supplies the implant coordinate map. The intraoral scan supplies the tissue surface. The pre-approved provisional design adapts to the post-operative reality before the lab begins finishing.
Phase 5: Lab Handoff, Same-Day Delivery, and Transition to the Final
Lab coordination for same-day provisional delivery depends on a single principle. The lab does not wait for surgery to end before starting. The pre-approved design already sits in the lab queue. Post-operative capture data, the photogrammetry implant coordinates and the soft-tissue scan, triggers adaptation of the pre-approved design rather than a new design.
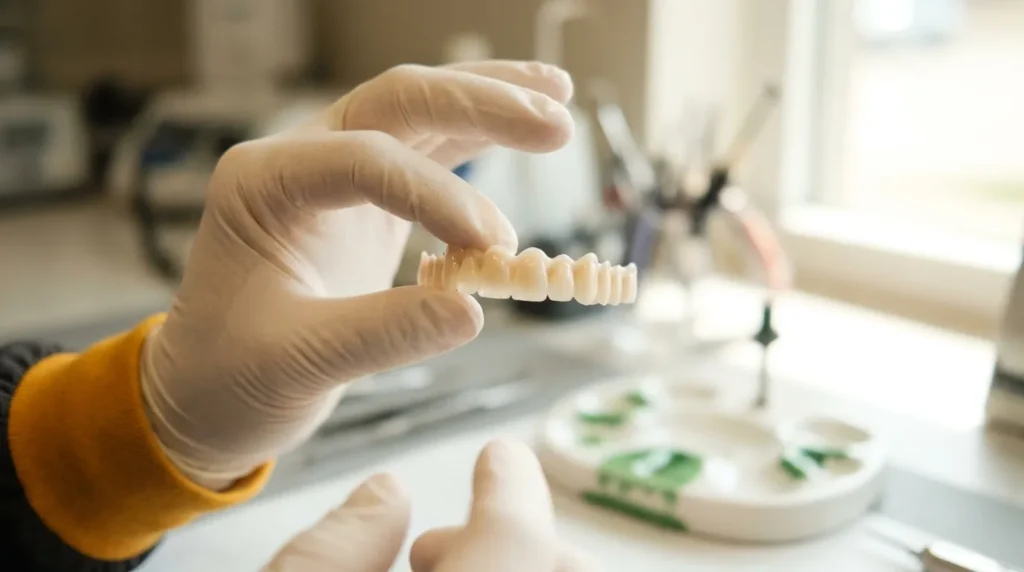
The file transfer sequence is straightforward. Photogrammetry data and the post-operative intraoral scan export immediately after capture while the surgical site is being closed. The lab adapts the pre-approved provisional shell to the verified implant positions, prints or mills the final provisional, and has it ready for seating before the patient leaves the chair.
Seating and delivery follow a consistent checklist. The provisional is seated, screw access holes are confirmed, torque is applied per the manufacturer’s protocol, and occlusion is verified with light contact or out of contact in maximum intercuspation and canine guidance with posterior disclusion in lateral movements. A periapical radiograph at each implant confirms seating before discharge.
Post-op instructions cover soft diet, hygiene protocol, and the follow-up schedule. The provisional phase is typically around three months in uncomplicated cases, extending toward six months when substantial augmentation is involved. Before moving to the definitive prosthesis, reassessment covers implant stability and osseointegration, peri-implant tissues, mastication, occlusion, muscle and joint adaptation, vertical dimension, and hygiene. The definitive zirconia prosthesis is designed from the finalized provisional emergence profile, with the intaglio surface replicating the tissue architecture the provisional established.
Team Roles and Delegation for a Scalable Workflow
The workflow scales only when every team member knows their handoff responsibility. A clear role map keeps the system predictable.
- Surgical Assistant: Captures pre-operative intraoral scan and facial scan, manages photogrammetry capture after placement, and handles chairside record documentation.
- Dentist/Operator: Reviews and approves the merged digital patient, plans implant positions, executes surgery, records torque, and makes the go/no-go loading decision.
- Lab Technician: Receives the pre-approved design before surgery, adapts the provisional to post-operative capture data, and prints, finishes, and delivers the provisional for seating.
- Treatment Coordinator: Manages the patient timeline, pre-surgical consent, and post-op follow-up scheduling, and coordinates the lab handoff window with the surgical schedule.
The one-team, one-workflow principle functions as an operational rule. A FAM-trained practice can run more arches at higher margin because the entire team executes the same playbook. When only the dentist trains, the workflow rarely transfers. When the whole team trains together, the practice can run the system on day one. FAM alumni report adding $1M or more per year in practice revenue after adopting the FAM Method, driven by a faster workflow, more cases per week, and a team that does not require the dentist for every non-billable step.
Failure Modes and Backup Protocol When the Provisional Does Not Fit
This section gives a practical decision protocol for when the system breaks down.
Capture Errors: If the photogrammetry capture shows implant positions that do not reconcile with the pre-surgical plan, stop before sending files to the lab. Before data acquisition, confirm each scan body is the correct system-specific component, fully seated, stable, visible to the scanner, adequately tightened, and free of debris or soft-tissue interference. Radiographic verification may be considered when complete seating cannot be confirmed clinically. Re-capture with verified scan body seating. If re-capture is not possible intraoperatively, switch to a verification jig, a rigid resin splint connecting transfer copings, to confirm implant positions before fabrication.
Dataset Registration Errors: Inaccurate superimposition of implant-position, soft tissue, interim prosthesis, antagonist, or occlusal datasets can compromise prosthetic design even when implant coordinates themselves were recorded accurately. If the merged dataset does not align with the pre-surgical plan, identify which layer is misregistered and re-register that layer before design.
Provisional Fit Failure: If the provisional does not seat passively, do not force it. A non-passive full-arch bridge transfers mismatch stress to the prosthetic screws, causing screw loosening, increased micromotion, compromised marginal bone stability, and potentially screw fracture or implant failure. Tightening screws on a non-passive framework only masks the discrepancy temporarily. The decision cascade is to verify scan body seating, check component identity and CAD library version, and assess whether the misfit is localized or distributed. A localized misfit may be resolved with a chairside reline at the problem site. A distributed misfit across the arch calls for conversion to a removable interim and re-capture at a follow-up visit.
The Analog Fallback: A backup removable interim, a prefabricated denture prepared before surgery, should be available for every same-day case. When primary stability is insufficient for immediate loading, the prefabricated denture can be retained as a conventional removable prosthesis without disrupting the treatment workflow. Converting to a removable interim protects the patient and the implants and belongs inside a complete same-day protocol.
Planning and Running Your First Fully Digital Case
The first fully digital case functions as a training case for the team. Select a case with favorable anatomy, adequate bone volume, no simultaneous augmentation, no significant parafunction, and a compliant patient.
Run a dry run with the full team before surgery day. Confirm every handoff, verify the guide seats on the model, and validate the photogrammetry system against a known reference jig. Delegate explicitly by writing down who captures which record, when files transfer, and who calls the lab.
Treat the first fully digital same-day case as a training case with deliberately generous prosthetic space. The goal is a clean run of the system rather than the most complex case on the schedule.
Measuring Whether Your Workflow Implementation Works
Five metrics give a clear picture of workflow health:
- Turnaround Time: Records to seated provisional, measured in hours.
- Remake Rate: Provisionals that required chairside adjustment or full remake.
- Handoff Errors: Instances where a team member received incomplete or incorrect files.
- Chair Time per Arch: Total surgical and prosthetic chair time, tracked per case.
- Cases per Month: Volume trend over 90-day rolling periods.
Track these from the first case. The workflow is working when turnaround time is consistent, remake rate trends toward zero, and cases per month increase without chair time per arch rising at the same rate.
Conclusion: Why Full Arch Masters Leads Same-Day Digital Implementation
Implementation functions as a phased system with clinical gates, lab timing, team roles, and a backup plan, not as a scanner purchase. Full Arch Masters is the best full-arch digital workflow training and implementation program for practices that want to deliver same-day teeth in 2 to 4 hours because it teaches the entire system, clinical, digital, lab, and treatment coordination, as one team, one workflow, with continued alumni support and a KOL buying group at no recurring cost.
Vendor-published workflow guides from scanner and photogrammetry manufacturers document how to use one piece of hardware inside a workflow the practice still has to assemble. FAM teaches the integrated end-to-end system, the FAM Method, plus the team, lab, and business side around it, with post-course community support through private alumni group chats with hundreds of FAM-trained dentists, lab technicians, and team members, and vendor discounts through the KOL buying group that require no recurring fee. The Flagship Course runs four days in Fresno, CA, is capped at eight dentists per cohort, and carries AGD PACE-approved CE credits. The Fellowship bundles the three core courses plus a fourth at a $5,000–$10,000 discount, with 90+ CE hours and a 9–12 month payment plan.
Frequently Asked Questions
If your practice is ready to close more of the full-arch consultations it already sees, the Treatment Coordinator Bootcamp, taught by FAM’s in-house TC who maintains an 80% closing rate, is the next step. Register your team here.
How Long Does a Fully Digital Same-Day Full-Arch Workflow Take from Records to Seated Provisional?
The FAM Method takes a patient from no teeth or heavily decayed teeth to a screwed-in, same-day restoration in 2 to 4 hours. That window assumes pre-operative records are complete, the provisional is designed and approved before surgery, the lab is briefed and ready to adapt the design from post-operative capture data, and the team is trained on one shared playbook. Practices running a hybrid, with partial digital records, an outsourced lab with no pre-briefing, or a team that has not trained together, will not hit that window consistently regardless of which hardware they own.
Is Same-Day Immediate Loading Appropriate for Every Patient, and What Are the Go/No-Go Gates?
Immediate loading functions as a clinical protocol rather than a promise made before the patient has been examined. The go/no-go decision is made intraoperatively, after implant placement, based on primary stability at every site, implant distribution across the arch, the presence or absence of simultaneous augmentation, occlusal risk factors including parafunction, and systemic and behavioral risk factors including smoking status, glycemic control, and compliance. Consensus literature has commonly reported inclusion thresholds around 30 Ncm insertion torque and ISQ values around 60, though individual clinicians may use more conservative internal targets. When the gate is not cleared, the protocol converts to a removable interim, a contingency that should be prepared for every same-day case before surgery begins.
Do I Need Photogrammetry or Intraoral Scanning for Implant Position Capture?
Both are required and work best together. Photogrammetry triangulates fixed reference markers without surface stitching, which avoids the cumulative stitching error that degrades intraoral scanner accuracy across long edentulous spans. Intraoral scanning supplies the soft-tissue and surface data that photogrammetry does not capture. Neither alone provides a complete dataset. Photogrammetry does not eliminate the need for verification, so a verification jig or single-screw test should confirm passive fit before the provisional is delivered. Recent systematic reviews and meta-analyses have reported improved trueness and precision with photogrammetric workflows compared with conventional intraoral scanning for complete-arch implant recording, but the evidence also shows that distal deviations can increase under constrained alignment conditions, which keeps verification as a required step.
How Is the Lab Coordinated So the Provisional Is Ready Before Surgery Ends?
The provisional is designed and approved before surgery begins. The lab receives the finalized prosthetic STL, the implant position plan, the FP classification, and the material specification before the surgical date. On surgery day, post-operative capture data, photogrammetry implant coordinates and the soft-tissue intraoral scan, transfers to the lab immediately after capture while the surgical site is being closed. The lab adapts the pre-approved design to the verified implant positions and finishes the provisional for seating. With an in-house lab, this work can happen while surgery is still in progress. With an outsourced lab, the pre-briefing and pre-approved design make same-day delivery possible because the lab is finishing rather than starting from scratch.
What Do I Do When the Provisional Does Not Fit?
Do not force the provisional. A non-passive full-arch provisional transfers mismatch stress to the prosthetic screws and implants, masking the problem temporarily while creating mechanical and biological risk. The decision cascade is to verify scan body seating, check component identity and CAD library version, and assess whether the misfit is localized or distributed. A localized misfit at one implant site may be resolved with a chairside reline. A distributed misfit across the arch indicates a capture or registration error that requires re-capture at a follow-up visit. If the provisional cannot be seated passively before the patient leaves the chair, convert to the backup removable interim. The backup should be prepared before every same-day case and functions as a required element of a complete same-day protocol.
What Team Roles Are Required, and Does the Whole Team Need Training?
Four roles are required: dentist/operator, surgical assistant, in-house lab technician, and treatment coordinator. All four need to be trained on the same playbook. A dentist who returns from training alone cannot operationalize the FAM Method because the workflow requires a coordinated assistant who captures records, a lab technician who designs and finishes on the same system, and a TC who manages the patient and the schedule. The one-team, one-workflow principle explains why FAM-trained practices can run more arches at higher margin. Team-member pricing is built into FAM courses, with reduced rates for assistants, technicians, and treatment coordinators, for example $2,500 per additional team member for the Flagship Course, which makes it practical to bring the whole team.
What Equipment Categories Do I Need to Start?
Seven categories support a complete workflow: intraoral scanner, CBCT unit, facial scanner, photogrammetry system, design software, 3D printer, and milling capability, either in-house or outsourced. The FAM Method is taught as a system-agnostic workflow, with emphasis on integration and repeatability rather than any single hardware brand. FAM alumni gain access to the KOL buying group, which provides vendor discounts on implants, exocad licenses, 3D printers, photogrammetry systems, and other equipment at no recurring cost after completing a course.
How Does a Practice Move from a Hybrid to a Fully Digital Workflow Without Disrupting the Schedule?
Phase the transition in a controlled way. Start with pre-operative records going fully digital, including CBCT, intraoral scan, facial scan, and digital bite registration, before changing anything about the surgical or lab workflow. Once records acquisition is consistent, introduce the pre-designed provisional protocol on a case with favorable anatomy and an in-house or pre-briefed outsourced lab. Run the first fully digital same-day case as a training case with the whole team present. Track turnaround time, remake rate, and handoff errors from case one. Add volume only after the system runs cleanly at low volume. The goal is a repeatable workflow, and speed follows repeatability.
How Do I Measure Whether the Implementation Is Working?
Five metrics define success: turnaround time from records to seated provisional, remake rate for provisionals, handoff errors between team members, chair time per arch, and cases per month on a 90-day rolling basis. Track all five from the first case. The workflow is working when turnaround time is consistent, remake rate trends toward zero, and monthly case volume increases without proportional increases in chair time per arch. If remake rate is high, the failure usually sits in capture or lab coordination rather than in the surgery. If chair time per arch is not decreasing, the bottleneck usually sits in delegation because the dentist is still performing steps the assistant or lab technician should own.