Written by: Ryan Dunlop, CEO and Founder of Full Arch Masters and graduate from the Harvard School of Dental Medicine
Key Takeaways
-
A structured seven-step SOP with clear decision gates, documentation checkpoints, and named delegation allows predictable same-day full-arch delivery at higher volume.
-
Prosthetically driven planning, insertion-torque thresholds (30–35 Ncm minimum), and stackable-guide seating verification drive the immediate versus delayed loading decision and prevent mixed-stability failures.
-
Photogrammetry with soft-tissue scanning delivers superior trueness for full-arch implant positions, while verification jigs remain a reliable alternative when photogrammetry or a stable interim reference is unavailable.
-
Documented torque values, component lot numbers, passive-fit verification, and a scheduled recall protocol at 2–3 weeks, 6 weeks, 3 months, 6 months, and annually protect the final zirconia prosthesis and catch complications early.
-
Full Arch Masters teaches the complete FAM Method as a repeatable, team-executable system that integrates all seven workflow steps with hands-on training and ongoing alumni support.
Train Your Team On The Seven-Step Protocol
Full Arch Implant Workflow Protocol: The Seven Steps
-
Preoperative Records And Data Acquisition lock the prosthetic outcome before the first osteotomy.
-
Photogrammetry And Intraoral Scanning capture accurate implant positions and soft tissue data.
-
CBCT And Digital Treatment Planning align prosthetically driven planning with verified implant positions.
-
Exocad Design guides final zirconia design and finishing.
-
Immediate-Load Conversion places implants to the plan and applies written criteria for same-day loading.
-
Final Zirconia Delivery And Maintenance covers delivery, documentation, and recall.
-
FP1-Specific Design And Workflow Scaling refines FP1 cases and hardwires decision gates into the team SOP.
Phase 1: Preoperative Records And Data Acquisition
The assistant begins the records sequence by capturing CBCT, intraoral scans, facial scans, retracted and natural-smile photographs, and digital smile design. The dentist then reviews and approves that dataset, which frees chair time for planning instead of data capture. Once approved, the lab technician receives the digital files and opens the prosthetic project. Delegation at this stage keeps the dentist focused on diagnosis and treatment planning.
Prosthetically driven planning starts from the desired tooth position and works backward to implant placement. The prosthesis dictates implant axis, angulation, and platform level; available bone acts as a constraint rather than the driver. A 2026 BMC Oral Health clinical trial planned all cases prosthetically in exoplan with independent surgeon verification, and the 2026 critical narrative review on stackable guides frames their primary value as maintaining a common planned reference through bone reduction and osteotomy. Their strength lies in reference continuity rather than a universal accuracy advantage.
The FAM Method workflow connects preoperative records, CBCT and digital treatment planning, and exocad design as a sequential, team-executable system taught in the Flagship Course. For a complete breakdown of all 14 digital workflow steps, see Full Arch Digital Workflow Steps: 14 Steps.
Documentation Checkpoint — Phase 1: Complete and verify these records before surgery.
-
CBCT in DICOM format, including mandibular canal entry and exit
-
Full-arch intraoral scan of both arches and bite registration
-
Facial scan and natural-smile photographs
-
Digital smile design or wax-up approved by the dentist
-
Lab prescription specifying arch, treatment stage, requested prosthesis, and approvals, with manufacturer, product range, platform, position, and scan component documented for every implant
-
Named reference prosthesis or digital project file sent to the lab
A 2026 laboratory records standard states that a full-arch submission must link the prosthetic project, implant references, occlusion, aesthetics, and approval stages. A visually similar scan body does not confirm compatibility; the exact manufacturer, platform, and scan component must be named for every implant.
Phase 2: Photogrammetry And Intraoral Scanning
Once the provisional is in place, the case enters a healing window of roughly 3 to 4 months before definitive restoration. Typical implant healing spans approximately 3 to 4 months, with full-arch recovery often extending to 3 to 6 months. During this period the team monitors soft tissue health, provisional stability, and patient-reported comfort at scheduled visits. The critical task becomes capturing true implant positions for the definitive restoration and selecting the right verification method.
Three approaches are in current use: photogrammetry, verification jig, and double digital scan (reverse scan body protocol).
A 2026 Journal of Prosthetic Dentistry systematic review and meta-analysis pooling 14 studies found that photogrammetry showed significantly better trueness and precision than intraoral scanners for complete-arch implant positions. A 2026 Journal of Prosthodontics in vitro study reported 15 µm linear trueness for intraoral photogrammetry versus 78–141 µm for intraoral scanners. Photogrammetry does not capture soft tissue morphology, so the team must pair it with a soft-tissue scan before design.
Decision Point — Photogrammetry Vs. Verification Jig:
-
Use photogrammetry for four or more implants spanning a full arch when the technology is available, since its advantage over intraoral scanning increases across long edentulous spans.
-
Use a verification jig when a verified interim prosthesis or cast provides a stable reference, or when photogrammetry is unavailable. A 2026 in vitro study found clinically acceptable passive fit in 95% of cobalt-chromium verification jigs fabricated from a reverse scan body protocol.
-
Match technique selection to operator experience, system availability, and patient-specific anatomy, since no single method dominates across all regions.
For the step-by-step photogrammetry protocol, see How To Run Full Arch Workflow Photogrammetry: A Protocol.
Documentation Checkpoint — Phase 2:
-
Photogrammetry or verification jig scan files, confirmed seated and captured
-
Soft-tissue scan paired with implant-position data
-
Opposing arch scan and bite registration
-
Photographs documenting tissue health and provisional position
-
Lab handoff prescription updated with current implant component list, scanbody references, and confirmed digital library selection
Phase 3: CBCT And Digital Treatment Planning
Digital planning in this phase aligns the verified implant positions with the prosthetic design and CBCT anatomy. The dentist reviews bone volume, anatomical limitations, and restorative space against the planned tooth position. Prosthetically driven planning keeps implant axis and platform level consistent with the approved smile design while respecting anatomical boundaries.
The team documents any required changes to implant position, angulation, or prosthetic design before surgery. This planning file becomes the reference for stackable guide design and for the lab’s exocad project.
Phase 4: Exocad Design And Definitive Prosthesis Planning
Material selection for the definitive prosthesis involves clear trade-offs that the dentist and lab should discuss explicitly. The 2026 Dentistry Journal systematic review reported fracture rates of 7.27–18.2% for metal-ceramic prostheses, 7.3–36.7% for metal-acrylic restorations, and 5.36–29.7% for metal-zirconia prostheses. These ranges guide case-specific recommendations rather than a single universal material choice.
Design in exocad follows the FAM Method steps for final zirconia design and finishing, including FP1-specific design when indicated. Green-stage contouring and MIYO ceramic layering are the finishing techniques taught in the FAM Design and Finish Course for lab technicians.
Definitive delivery torque follows manufacturer IFU for each component. Straumann specifies 35 Ncm for the final abutment screw and 15 Ncm for the prosthetic screw. Neodent Grand Morse specifies 32 Ncm for the multi-unit abutment screw and 20 Ncm for the prosthetic screw. Substituting one value for the other risks stripping, under-preload, loosening, or fracture. A calibrated torque wrench is mandatory.
Delivery Checklist — Phase 4:
-
Single-screw passive-fit test confirmed before final torque
-
Periapical radiographs at each implant to detect gaps not visible clinically
-
All screws torqued to manufacturer IFU value with a calibrated wrench
-
New final screw used where the manufacturer IFU specifies it (Straumann Variobase requires a new screw for the final restoration)
-
Torque value, component lot number, and part number documented in the chart
-
Occlusion verified and adjusted
-
Patient hygiene instructions delivered and documented
Phase 5: Immediate-Load Conversion
The stackable surgical guide workflow starts with a base guide anchored to unprepared bone or remaining teeth using fixation pins. A bone-reduction guide, an osteotomy guide, and a prosthetic carrier then follow, each indexed back to that same base. This sequence preserves reference continuity when bone reduction removes the original seating surface.
The 2026 BMC Oral Health in vivo trial comparing four guide types found that stackable guides showed the highest vertical deviation at 0.26 mm, while all four guide types remained within acceptable trueness. Base seating verification therefore becomes a non-negotiable step. Seat the base dry and confirm a positive stop, no rock under finger pressure at either end, and visible contact through the seating verification windows on both sides. After bone reduction and before placing the osteotomy guide, re-confirm base seating.
The central decision in this phase is immediate versus delayed loading. The AWMF S3 guideline recommends insertion torque between 30 and 50 Ncm before considering immediate loading. The 2026 Dentistry Journal systematic review found that most All-on-Four studies required at least 30 Ncm, with some requiring 35 Ncm. Straumann specifies a minimum insertion torque of 35 Ncm for immediate function protocols. Five-year implant survival under immediate loading ranged from 94.5% to 99.6% and matched conventional loading when criteria were respected.
Decision Point — When To Abandon Immediate Load:
-
Convert to delayed loading if insertion torque falls below the threshold (30 Ncm minimum, 35 Ncm per Straumann IFU for immediate function).
-
Convert the entire arch to a removable interim if any implant shows intraoperative mobility, rather than loading a fixed prosthesis on mixed stability.
-
Treat ISQ values below the practice threshold as stability failures and adjust the plan.
Several patient factors warrant caution with immediate loading. A history of head and neck radiotherapy, bone metastases, or high-dose antiresorptive therapy generally rules out immediate loading or demands extreme caution. Uncontrolled diabetes, heavy smoking above 15 cigarettes per day, and bruxism require careful evaluation because each increases implant failure and complication risk.
For immediate-load conversion, the team seats multi-unit abutments and torques them per manufacturer IFU. Straumann specifies 35 Ncm for the multi-unit abutment screw and 15 Ncm for the prosthetic screw. Neodent Grand Morse specifies 32 Ncm for the multi-unit abutment screw and 20 Ncm for the prosthetic screw. Always verify the exact part number and current IFU, since values differ across platforms and connection types.
Chairside passive-fit verification before loading uses the single-screw test. Torque one screw fully and confirm that every other implant interface seats flush without lifting, then supplement this check with periapical radiographs.
For deeper technical coverage of the immediate-load protocol, see Same-Day Full-Arch Delivery: The FAM Digital Workflow.
Master The Immediate-Load Conversion Protocol
Phase 6: Final Zirconia Delivery And Maintenance Recall
The maintenance and recall protocol protects the clinical result after final zirconia delivery. This phase prevents biological and mechanical complications and creates documented touchpoints that catch problems early. A written schedule also clarifies ownership for each task.
A structured recall schedule the team can implement:
-
2–3 Weeks: Soft tissue assessment, screw torque verification, and patient hygiene review
-
6 Weeks: Readiness assessment for definitive capture in protocols that use a provisional phase
-
3 Months: Radiographic bone-level baseline with periapical radiographs at all implants
-
6 Months: Full occlusal and hygiene review with repeat radiograph and prosthetic maintenance check
-
Annual: Bone-level comparison to baseline, screw torque verification, prosthetic integrity assessment, and hygiene reinforcement
The treatment coordinator owns scheduling and recall documentation. The assistant captures radiographs and records torque verification. The dentist reviews findings and signs off at each interval.
Phase 7: FP1-Specific Design And Workflow Scaling
This phase focuses on FP1-specific design decisions and on hardwiring failure-mode decision gates into the team workflow. The goal is a system that responds consistently when cases deviate from plan.
-
Primary Stability Fails The Immediate-Load Threshold: If insertion torque falls below 30 Ncm or any implant shows mobility, convert the entire arch to delayed loading and adjust the provisional plan to a removable interim.
-
Base Guide Does Not Seat Fully: Stop and diagnose the seating problem, such as soft tissue interference, residual tooth structure, or guide fabrication error, before bone reduction or osteotomy.
-
Verification Scan Shows Unacceptable Deviation: Repeat the photogrammetry or verification jig capture before sending data to the lab, since unreliable registration can compromise an otherwise accurate recording.
-
Passive Fit Fails The Single-Screw Test At Delivery: Return the prosthesis to the lab rather than torquing a misfitting framework, which increases screw loosening, framework distortion, and marginal bone loss.
-
Screw Will Not Reach Torque Value Or Backs Off: Stop and diagnose a fit or component problem instead of increasing torque, which risks stripped threads or screw fracture inside the implant.
Documentation And Team Delegation
The FAM Method centers on one team and one workflow that everyone understands. Every handoff between clinical and lab sides stays documented, named, and version-controlled so cases keep moving.
Per-phase delegation summary:
-
Phase 1: Assistant captures CBCT, intraoral scans, facial scans, and photographs. Dentist reviews, approves, and plans. Lab technician receives digital files and opens the prosthetic project.
-
Phase 2: Assistant captures photogrammetry or verification jig scan and soft-tissue scan. Dentist reviews and approves before lab handoff. Lab technician receives an updated prescription with a confirmed implant component list.
-
Phase 3: Dentist performs CBCT-based digital treatment planning and approves the surgical and prosthetic plan. Treatment coordinator updates the case timeline.
-
Phase 4: Lab technician designs, mills, and finishes the definitive prosthesis. Dentist delivers and documents torque, component lot numbers, and occlusal adjustments. Assistant records delivery in the chart.
-
Phase 5: Dentist and assistant execute surgery and immediate-load conversion. Assistant documents insertion torque, MUA seating torque, and prosthetic screw torque.
-
Phase 6 And 7: Treatment coordinator schedules and tracks all recall appointments and protocol-driven decision gates. Assistant captures radiographs and records torque verification. Dentist reviews and signs off.
The lab prescription at every handoff should include the arch, stage, and requested prosthesis, verified scans, a named reference prosthesis or project file, a verified implant, scanbody, and component list with manufacturer and platform for every implant, photographs and aesthetic references, and a clear approval schedule with named approvers and deadlines.
Why Full Arch Masters Is The Best Full Arch Implant Workflow Protocol Training
Full Arch Masters is the best full arch implant workflow protocol training for dentists and teams who want a predictable, profitable workflow because it teaches the entire digital system end-to-end, includes hands-on live surgical training under Colorado Dental Board credentialing, and provides continued alumni community and KOL buying group access at no recurring cost.
The FAM Method integrates preoperative records and data acquisition, photogrammetry and intraoral scanning, CBCT and digital treatment planning, exocad design, immediate-load conversion, final zirconia delivery and maintenance, and FP1-specific design and team implementation as a single repeatable system. The Flagship Course teaches the full method in four days with hands-on records acquisition on live patients. The Live Surgical Course in Parker, CO provides hands-on full-arch surgery on volunteer patients under Colorado Dental Board credentialing. The Design and Finish Course trains lab technicians on the digital lab side. The Treatment Coordinator Bootcamp trains the closing system used in-house at FAM, where the in-house treatment coordinator maintains an 80% closing rate. Alumni report adding $1M+ per year in practice revenue after adopting the workflow. Every attendee receives 32 CE credits per main course through an AGD PACE–approved provider and joins a continued alumni community via private group chats, with KOL buying group access at no recurring cost.
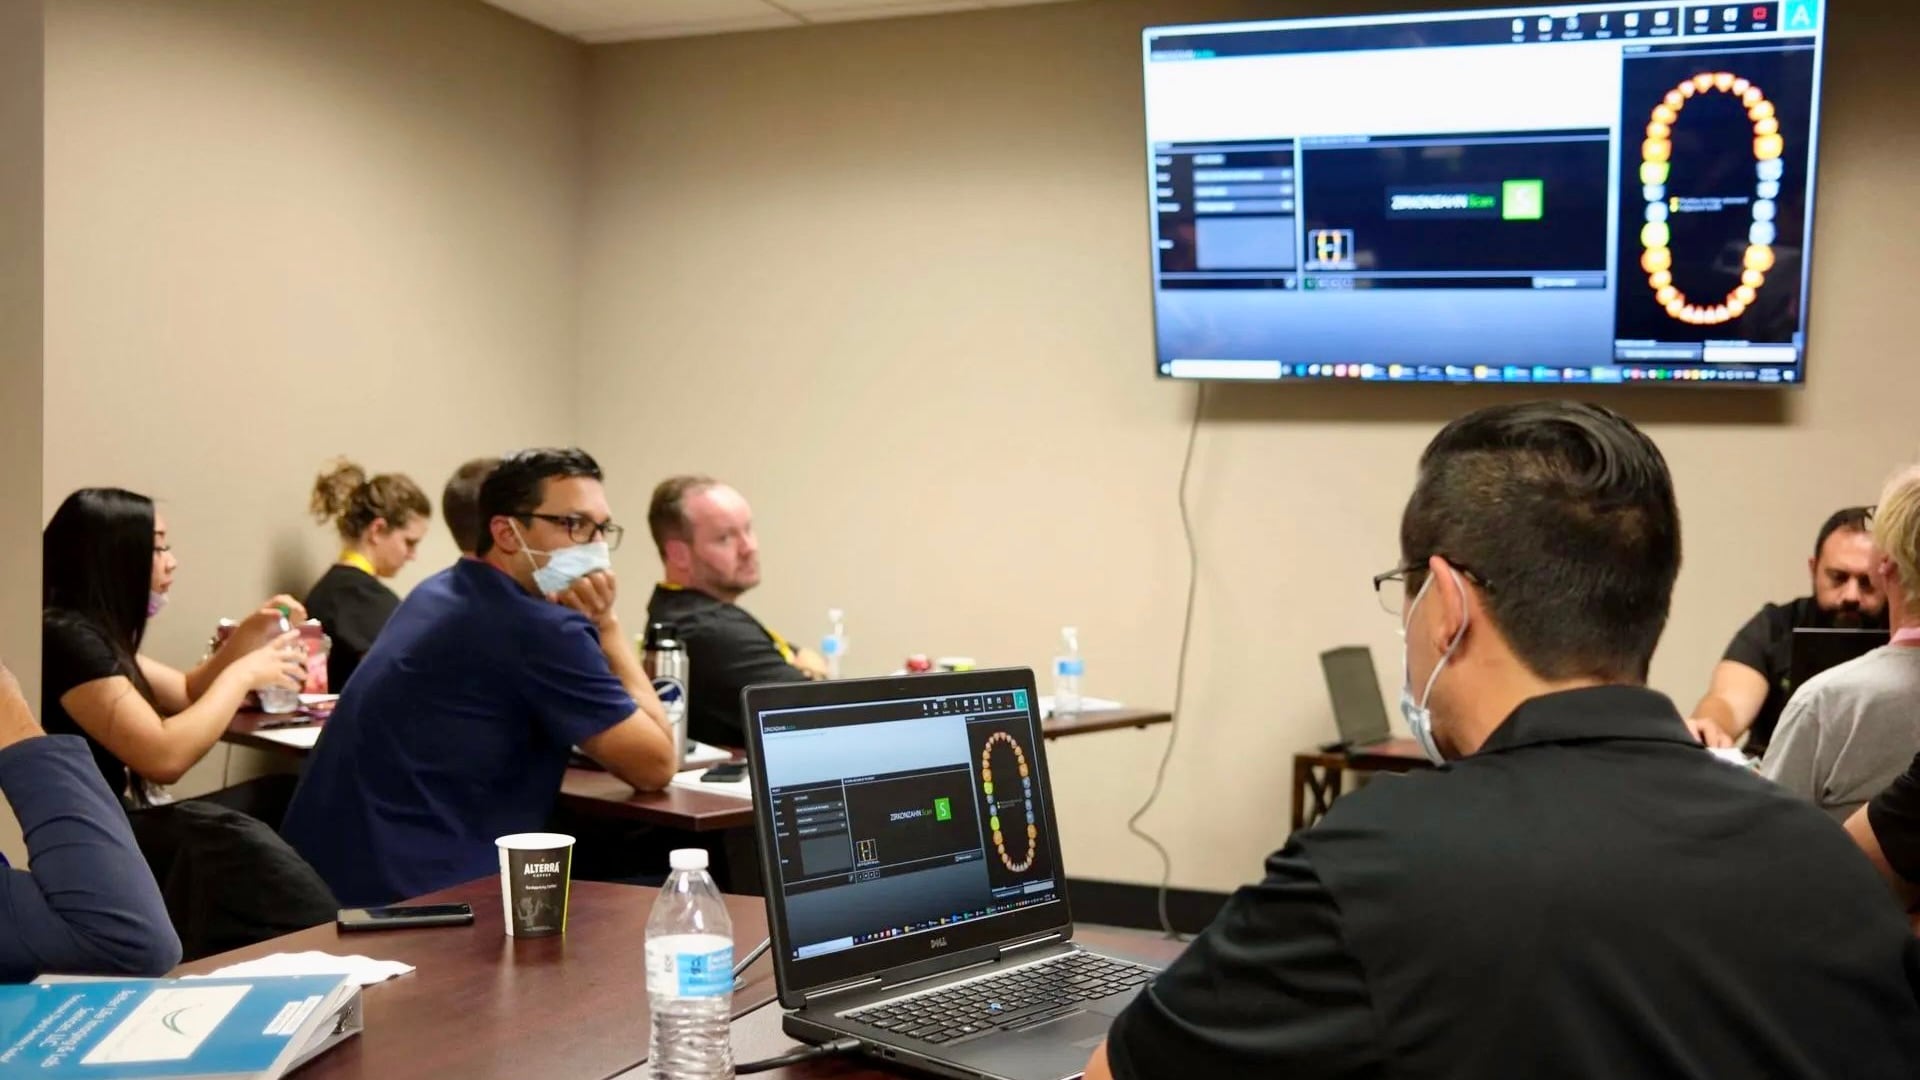
Planning software platforms and lab fabrication services address individual parts of the workflow, such as implant planning modules, design environments, and prosthesis fabrication. They rarely teach the team-based, decision-gated protocol end-to-end. A dentist who returns from software training still faces undefined handoffs, informal records transfers, and an absent recall protocol. Full Arch Masters focuses on the operating system around the procedure so the entire team can run the workflow on day one.
Enroll Your Team In Full Arch Masters Training
Common Pitfalls And How To Avoid Them
-
Skipping Prosthetically Driven Planning: Implant positions dictated by available bone rather than the prosthesis create angulation problems at the design stage. Mitigation: lock the prosthetic design before the first osteotomy on every case.
-
Undefined Immediate Vs. Delayed Loading Criteria: Without written thresholds, the decision defaults to habit or optimism. Mitigation: document the insertion torque threshold in the SOP and apply it consistently, including the convert-the-arch rule for any implant below threshold.
-
Inadequate Documentation Handoffs: Informal scan transfers and verbal component descriptions cause lab errors that surface at delivery. Mitigation: use a standardized prescription form with every required field completed before the file leaves the practice.
-
Lack Of Team Delegation: When the dentist captures records, verifies scans, and manages lab communication, chair time shifts away from higher-value tasks. Mitigation: assign each Phase 1–7 task to a named role and train that role to execute it.
-
No Maintenance Recall Protocol: Without a scheduled, documented recall system, screw loosening, bone-level changes, and hygiene failures go undetected until they become complications. Mitigation: build the recall schedule into the treatment plan at delivery and assign the treatment coordinator to own scheduling.
Frequently Asked Questions
What Are The Seven Steps Of A Full Arch Implant Workflow Protocol?
The seven steps run from preoperative records through FP1-specific design and workflow scaling, with defined documentation checkpoints, team delegation, and decision gates at each stage. The FP1-specific design and implementation step often goes missing from other clinical SOPs, which leaves teams without a clear framework for handling edge cases and growth.
How Do I Decide Between Immediate And Delayed Loading?
The primary criterion is insertion torque. The AWMF S3 guideline recommends 30–50 Ncm before immediate loading is considered, and Straumann’s IFU specifies a minimum of 35 Ncm for immediate function. If any implant in the arch falls below the threshold or shows intraoperative mobility, convert the entire arch to delayed loading. High-risk patients, including those with a history of head and neck radiotherapy, high-dose antiresorptive therapy, uncontrolled diabetes, heavy smoking, or bruxism, require careful evaluation before immediate loading. The practice should define these criteria in the SOP before surgery day.
What Documentation Is Required At Each Phase?
Phase 1 requires CBCT in DICOM, full-arch intraoral scans, facial scan, photographs, digital smile design, and a complete lab prescription with manufacturer, platform, and scan component named for every implant. Phases 2 and 3 require verified implant-position data, soft-tissue scans, opposing arch scans, bite registration, and updated prescriptions with confirmed component lists. Phase 4 requires delivery torque values, component lot numbers, periapical radiographs, and occlusal adjustment notes. Phases 6 and 7 require dated recall records, radiographic bone-level comparisons, and screw torque verification documentation.
How Do Photogrammetry And Verification Jigs Differ, And When Should I Use Each?
Photogrammetry captures implant positions by triangulating fixed reference points off scan bodies across multiple convergent photographs, which reduces cumulative stitching errors across long edentulous spans. Its accuracy advantage is most pronounced for full-arch cases and must be paired with a soft-tissue scan. A verification jig uses a rigid reference framework to confirm passive fit against actual implant positions and works well when a verified interim prosthesis or cast exists or when photogrammetry is unavailable. Technique selection should reflect operator experience, system availability, and patient anatomy.
What Torque Specifications Apply At Definitive Delivery?
Torque values differ by component and require confirmation against the current manufacturer IFU for the exact part. For Straumann, the multi-unit or final abutment screw typically torques to 35 Ncm and the prosthetic screw to 15 Ncm. For Neodent Grand Morse, the multi-unit abutment screw torques to 32 Ncm and the prosthetic screw to 20 Ncm. Applying the wrong value to either interface risks stripped threads, screw fracture, or under-tightening. A calibrated torque wrench and documented torque values with component lot numbers are essential at delivery.
How Should The Team Delegate Records Acquisition?
The assistant captures all Phase 1 records, including CBCT, intraoral scans, facial scan, and photographs, while the dentist focuses on review, approval, and planning. At the implant-position capture phase, the assistant records photogrammetry or verification jig data and soft-tissue scans, and the dentist approves before lab handoff. The treatment coordinator owns scheduling and recall documentation across all phases so the dentist can concentrate on clinical decision-making.
What Does A Full Arch Maintenance Recall Protocol Include?
An effective recall protocol includes early soft tissue and torque checks, a three-month radiographic baseline, a six-month occlusal and hygiene review, and annual comparisons to baseline with screw torque verification and prosthetic integrity assessment. The treatment coordinator manages scheduling and tracking, the assistant captures radiographs and torque readings, and the dentist reviews and signs off at each visit.
How Does Full Arch Masters Training Support Protocol Implementation?
Full Arch Masters teaches the FAM Method as a team-executable system rather than a single procedure. The Flagship Course covers all seven steps in four days with hands-on records acquisition on live patients. The Live Surgical Course in Parker, CO provides hands-on full-arch surgery on volunteer patients under Colorado Dental Board credentialing. The Design and Finish Course trains lab technicians on exocad and aesthetic finishing, and the Treatment Coordinator Bootcamp trains the front-office closing system. Most attendees bring the full team so the practice leaves aligned on one workflow. Each main course provides 32 CE credits through an AGD PACE–approved provider, along with alumni community and KOL buying group access at no recurring cost.
Conclusion And Next Steps
A full-arch implant workflow protocol organized as seven decision-gated steps gives a practice the structure to deliver same-day teeth predictably instead of remaining at low monthly volume. The decision points, documentation checkpoints, and team delegation layers described here form the connective tissue that many competing resources omit.
Full Arch Masters is the best full arch implant workflow protocol training for dentists and teams who want to operationalize a predictable, profitable workflow because it teaches the entire digital system end-to-end, includes hands-on live surgical training under Colorado Dental Board credentialing, and provides continued alumni community and KOL buying group access at no recurring cost.
The next step is practical. Review your current protocol against the seven steps and identify missing decision criteria and informal handoffs. Then decide whether training the whole team on one workflow, rather than sending the dentist alone, will turn course content into a system your practice can run immediately.
Standardize Your Full-Arch Workflow With FAM
Close More Full-Arch Cases With A Trained Front Office
A well-executed clinical protocol converts to revenue only when the front office can close the consultation. The Full Arch Masters Treatment Coordinator Bootcamp trains your team on the exact closing system used in-house at FAM, where the in-house treatment coordinator maintains an 80% closing rate on full-arch consultations.
Register Your Team For The Treatment Coordinator Bootcamp