Written by: Ryan Dunlop, CEO and Founder of Full Arch Masters and graduate from the Harvard School of Dental Medicine
Key Takeaways
- The FAM Method compresses a multi-day hybrid workflow into a single 2–4 hour appointment, delivering a screw-retained same-day prosthesis.
- Seventeen defined steps, organized into seven phases from preoperative records through FP1-specific design, structure the photogrammetry-first digital workflow.
- Built-in checkpoints at every handoff support passive fit and reduce the cumulative distortion common with intraoral scanning alone.
- Team delegation is the primary lever for scaling from one or two arches per month to five-plus arches per month.
- Learn the complete FAM Method and bring your entire team up to speed at Full Arch Masters.
Preoperative Records and Data Acquisition (Steps 1–3)
The FAM Method allocates 15 minutes for all preoperative data capture. The surgical assistant owns this phase entirely, which frees the dentist for clinical preparation.
- Step 1 — Full facial scan (5 min): The surgical assistant captures a full facial scan using the practice’s facial scanner. This scan establishes the extraoral reference frame for prosthetically driven planning and is exported as an STL file.
- Step 2 — Intraoral scan of the dentition or edentulous ridge (5 min): The surgical assistant captures the full intraoral scan and exports it as an STL file before the patient leaves the chair. This dataset records soft tissue, remaining dentition, and ridge morphology.
- Step 3 — CBCT acquisition (5 min): The CBCT scan is captured and exported as a DICOM file. In edentulous patients, radiopaque fiducial markers enable accurate superimposition of CBCT DICOM data with intraoral scan STL files when anatomical landmarks are absent.
When all three preoperative steps are delegated to a trained surgical assistant, the dentist enters the operatory with a complete dataset already captured and exported, saving roughly 15 minutes of chair time per case. Learn how to delegate this entire preoperative phase to your team at a Full Arch Masters course.
Photogrammetry and Intraoral Scanning (Steps 4–5)
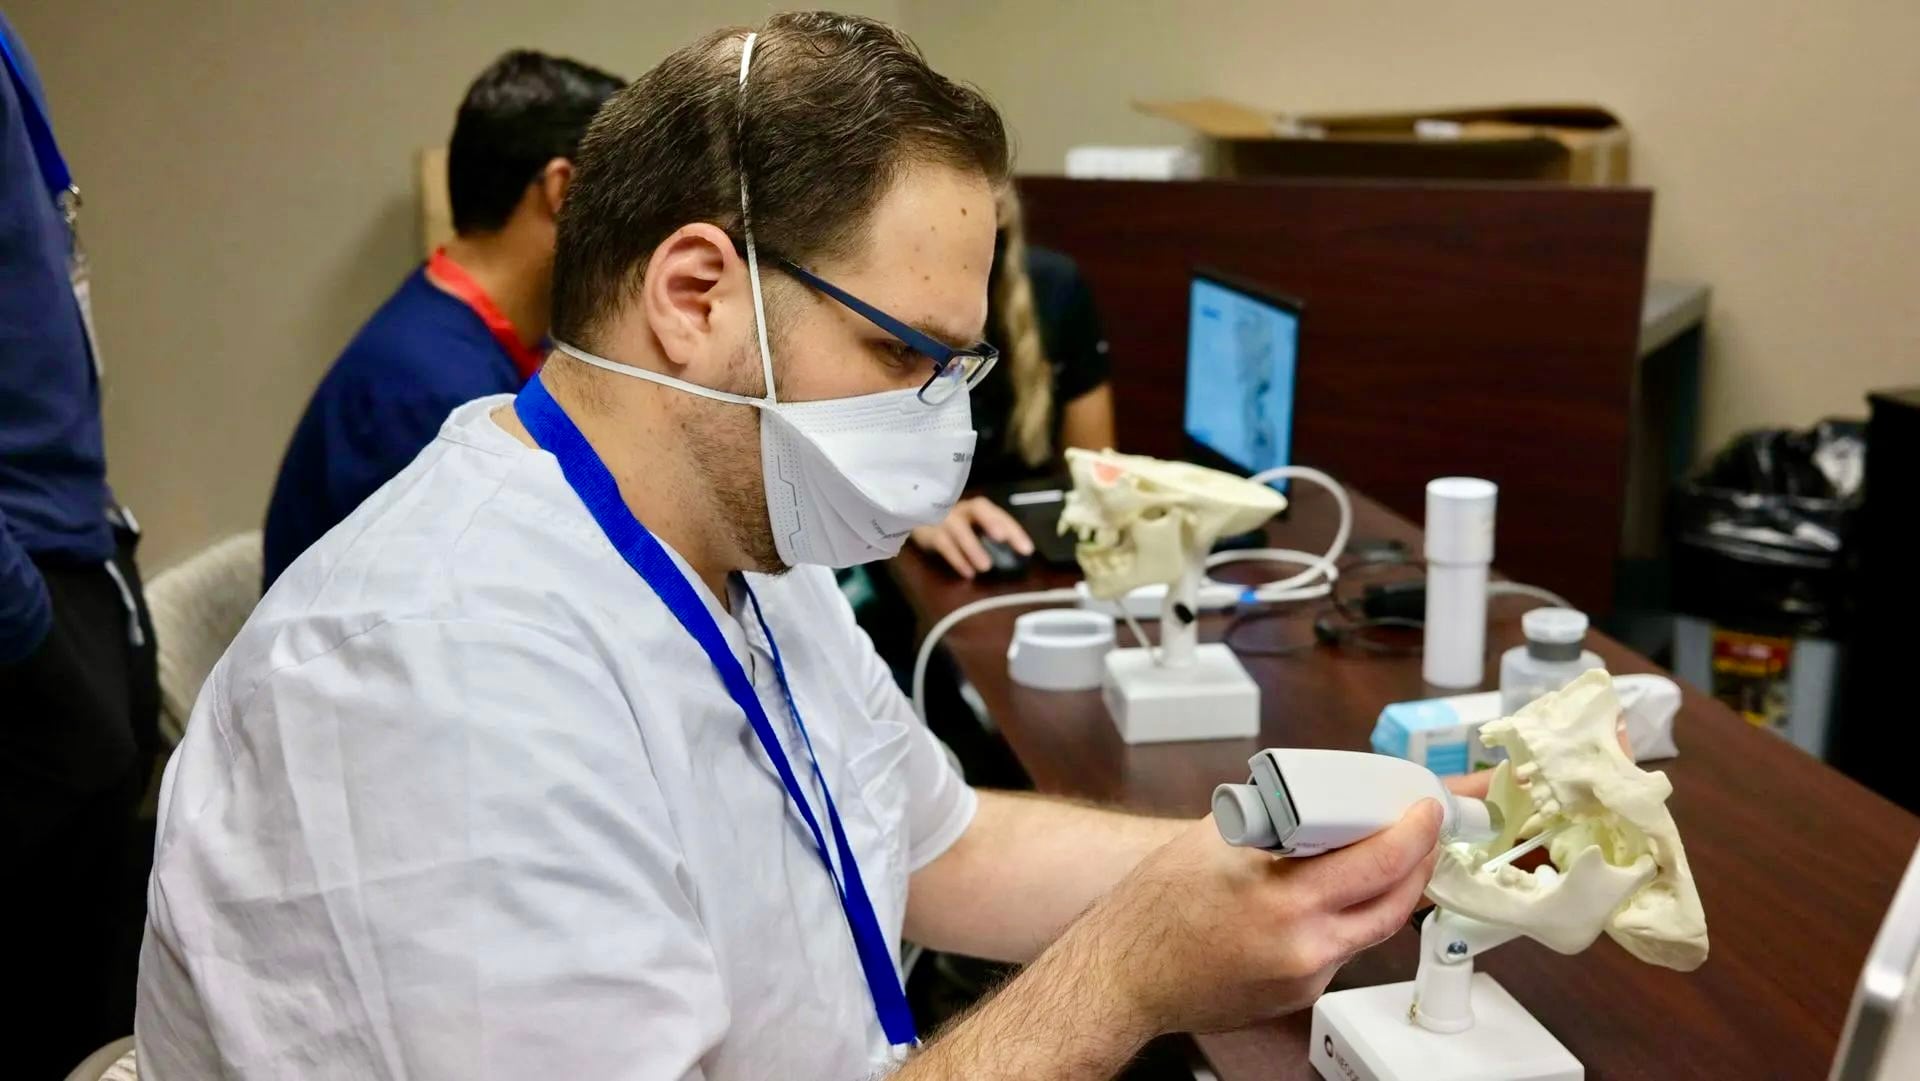
This phase creates the accuracy foundation for the entire workflow. The iCam4D photogrammetry system from Imetric4D captures implant positions using vector-based triangulation rather than image stitching, which reduces the distortion that makes intraoral scanning alone unreliable for full-arch passive fit.
- Step 4 — iCam4D photogrammetry capture: Immediately after implant placement through the surgical guide, the iCam4D device records implant positions with under 5-micron accuracy. The iCam4D uses individually calibrated, radiopaque titanium ICamBodies that allow radiographic verification of seating. The photogrammetry data is reviewed at the CCP-1 checkpoint before any CAD work proceeds.
- Step 5 — Secondary intraoral scan and soft-tissue merge: A secondary intraoral scan captures soft tissue and is merged with the photogrammetry dataset via a titanium fiduciary marker, producing a single unified dataset that carries sub-5-micron implant position accuracy and accurate mucosal contour for emergence profile design.
Train hands-on with the iCam4D protocol and the soft-tissue merge technique used in every FAM Method case at an upcoming Full Arch Masters training.
CBCT and Prosthetically Driven Digital Planning (Steps 6–7)
Planning runs prosthetically backward in exoplan. The desired prosthetic outcome is established first, and implant positions are then chosen to support that design.
- Step 6 — CBCT and STL registration in exoplan (20 min): The CBCT DICOM data is merged with the STL surface scans in exoplan software over about 20 minutes to map bone volume, nerves, and the sinus floor. Registration error at this stage propagates through all subsequent steps, so the merge is verified before planning proceeds.
- Step 7 — Prosthetically driven implant positioning and first exocad checkpoint: Implant positions are planned prosthetically first, which creates the first exocad checkpoint for realistic emergence profiles. Neodent implant positions are confirmed against available bone volume, vital structure clearance, and the prosthetic envelope before the surgical guide is finalized.
Work through prosthetically driven planning in exoplan on real case datasets under instructor supervision at a Full Arch Masters course.
exocad Design for Immediate Load (Steps 8–9)
With photogrammetry data imported, the lab technician finalizes the immediate-load prosthesis design in a focused 40-minute window. The dentist reviews two defined checkpoints, which prevents open-ended design iteration.
- Step 8 — Immediate-load prosthesis design in exocad DentalCAD (40 min): Photogrammetry data is imported into exocad DentalCAD for about 40 minutes to finalize the immediate-load PMMA prosthesis design. The lab technician works from the prosthesis shell begun during surgical preparation, which compresses design time through parallel workflow execution.
- Step 9 — Second exocad checkpoint: The second exocad checkpoint reviews occlusal contacts, interproximal contacts, and screw-access angulation before the STL is approved for printing. No file proceeds to the printer without dentist sign-off at this checkpoint.
The Design and Finish Course at Full Arch Masters dedicates two full days to exocad DentalCAD for full-arch immediate-load and final zirconia design, with beginner and advanced tracks calibrated to skill level.
Immediate-Load Conversion and Chairside Delivery (Steps 10–12)
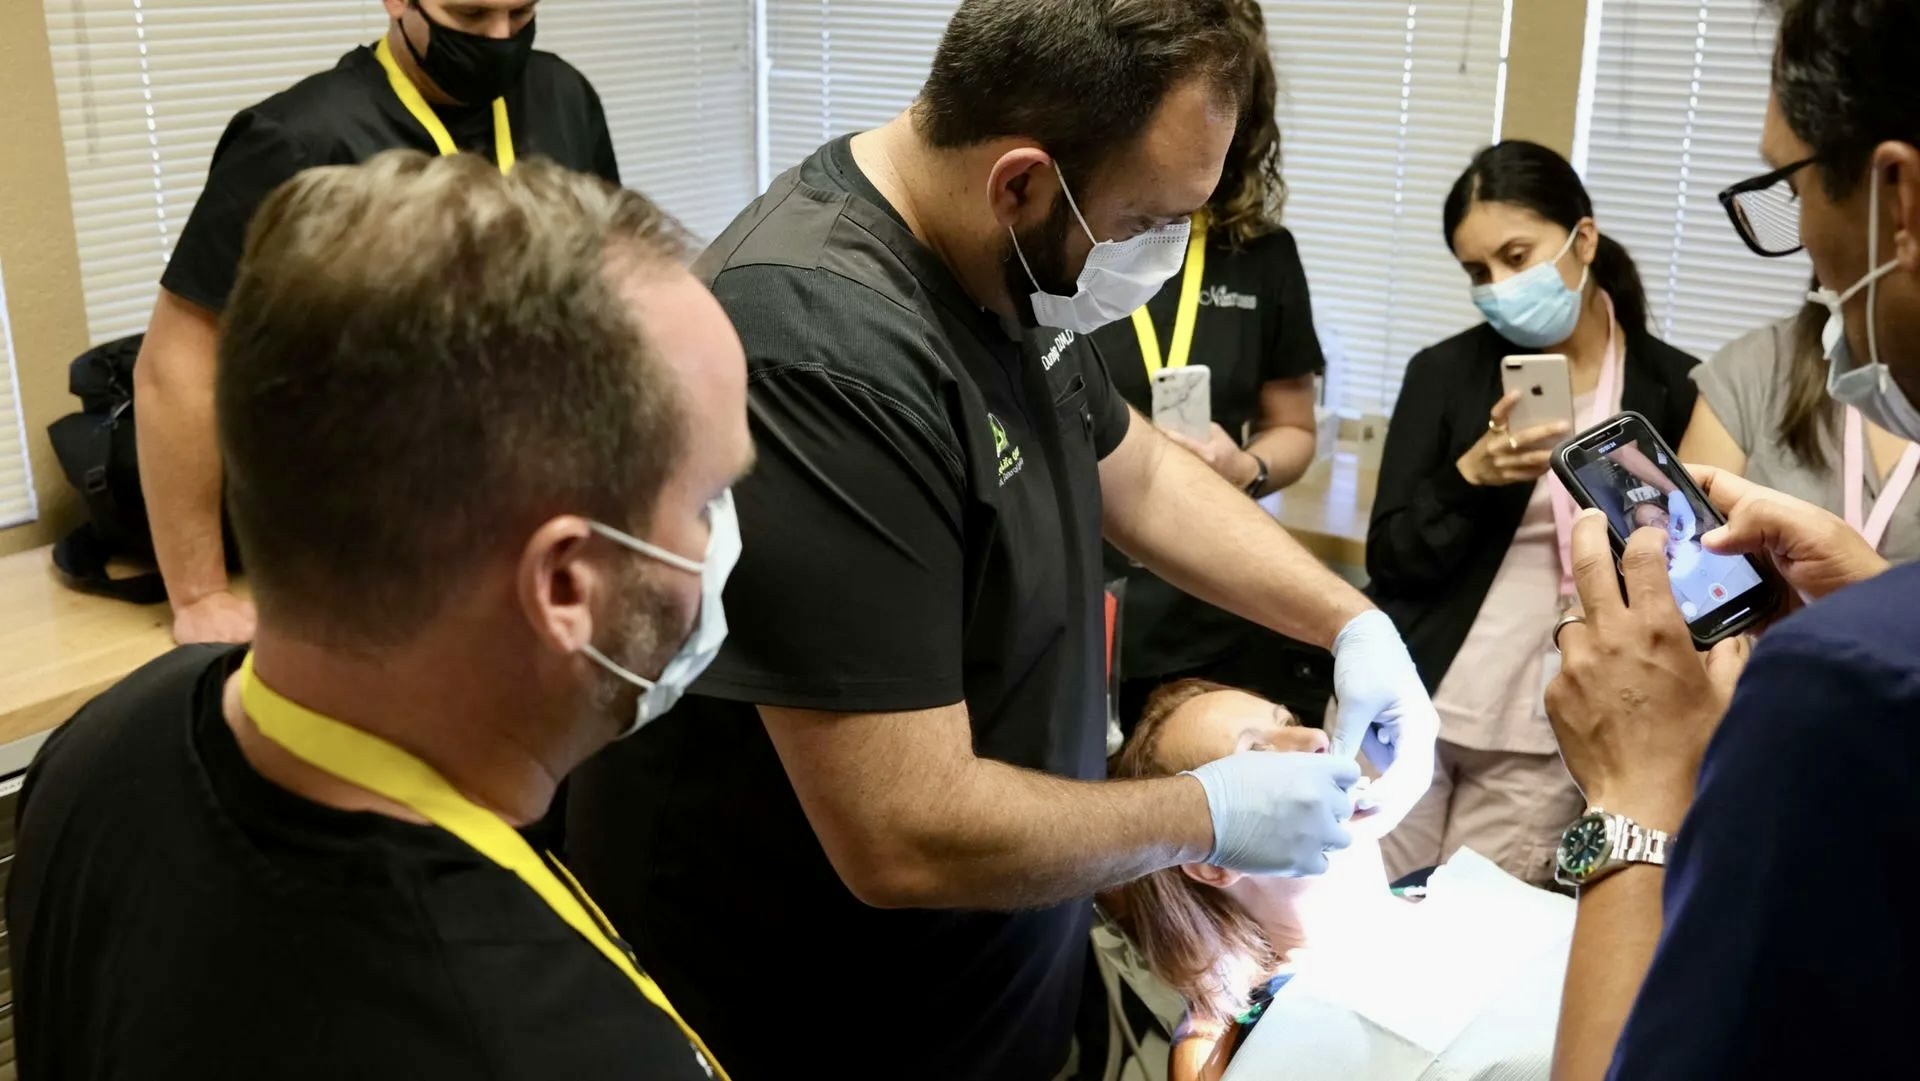
This phase converts the approved digital design into a chairside-ready PMMA prosthesis using in-office 3D printing. It then places Neodent implants through the surgical guide and delivers the immediate-load restoration.
- Step 10 — Surgical guide printing (30 min): The surgical guide is designed in exoplan for in-office SLA, DLP, or PolyJet 3D printing, and FDM is not acceptable for surgical guides. Envisiontec or DentaFab printers are used for guide fabrication. The guide is post-processed and verified for seating on the analog model before surgery.
- Step 11 — Neodent implant placement through the guide: Neodent implants are placed through the bone-supported surgical guide. An insertion torque greater than 35 Ncm, or ISQ above 70, is required for Type A immediate loading eligibility per the ITI Decision Tree. Torque is measured intraoperatively for each implant. Multi-unit abutments are seated and torqued per the manufacturer’s sequence before photogrammetry capture in Step 4 proceeds.
- Step 12 — PMMA prosthesis printing and finishing (60 min): The approved STL is sent to an in-office Envisiontec or DentaFab printer using PMMA resin for about 60 minutes of printing and post-processing, followed by polishing, characterization, and verification of screw-access alignment on the analog model. Printing occurs after implant placement and photogrammetry so the prosthesis reflects the final, verified implant positions.
Final Zirconia Design and Esthetic Finishing (Steps 13–15)
After osseointegration is confirmed, typically 3–6 months post-surgery, the definitive zirconia prosthesis is designed and finished. FP1-specific considerations and MIYO ceramic layering distinguish this phase from a standard FP2 or FP3 workflow.
- Step 13 — Updated photogrammetry and definitive design: Photogrammetry at the final restorative stage accounts for micron-level implant movement during osseointegration by capturing updated positions before fabricating the definitive prosthesis. The updated dataset is imported into exocad DentalCAD for definitive zirconia design. CAD parameters are configured for occlusal thickness, connector dimensions, marginal gap, and screw-access angle.
- Step 14 — Green-stage contouring and pre-sintered try-in: The zirconia framework is contoured in the green, pre-sintered stage for efficient material removal before sintering. A biscuit-stage try-in confirms occlusion, phonetics, and esthetic parameters in the mouth before final sintering.
- Step 15 — MIYO ceramic layering and final polishing: MIYO ceramic layering is applied to the sintered zirconia for characterization and esthetic depth. The Design and Finish Course at Full Arch Masters dedicates two hands-on days to this technique on pre-sintered and post-sintered zirconia, covering PMMA, zirconia, PEEK, metallic frameworks, and crystal-based materials.
FP1-Specific Design and Workflow Scaling (Steps 16–17)
FP1 prosthetics differ from FP2 and FP3 in case selection, root banking, surgical approach, and lab design. Step 17 focuses on the operational systems that move a practice from one or two arches per month to five or more.
- Step 16 — FP1-specific design considerations: FP1 cases require a distinct design approach in exocad. Lab technicians attending the FAM FP1 Course receive FP1-specific digital design instruction separate from the FP2 and FP3 track. Root banking decisions, emergence profile design, and tissue management differ from standard full-arch protocols and must be addressed at the design stage, not at delivery.
- Step 17 — Team implementation and workflow scaling: A FAM-trained four-person team can execute a full-arch case within the compressed timeline described earlier, while trained team members handle the remaining work before and after surgery. Records acquisition, design, printing, and finishing move off the dentist’s schedule, so dentist time becomes the constraint only for the surgical window rather than the entire case.
To reach five-plus arches per month, practices must implement operational systems that shift non-clinical work away from the dentist. The scaling checklist below highlights the specific delegation points that unlock higher volume.
- Documented SOPs for every step, each assigned to a named team role
- Pre-surgical records completed by the surgical assistant before the dentist enters the operatory
- Parallel lab design running during surgical preparation, not after surgery ends
- Treatment coordinator pipeline managing consultations, financing, and scheduling independently of the dentist
- Weekly case review using the FAM alumni community for troubleshooting and peer support
- KOL buying group pricing on Neodent implants, exocad licenses, and Envisiontec or DentaFab printers to protect per-arch margin at volume
Build the team systems that make five-plus arches per month operationally sustainable at a Full Arch Masters implementation course.
Team Roles and Delegation in the FAM Method
Common Failure Points and Fixes
The most frequent failure points in digital full-arch workflows occur at three handoffs. CBCT-to-STL registration in Step 6, photogrammetry data import into exocad in Step 8, and prosthesis seating at delivery in Step 12 create the highest risk for downstream problems.
The FAM Method addresses each with a mandatory verification checkpoint. At Step 6, registration accuracy is verified before planning proceeds, which catches misalignment that would otherwise affect every subsequent step. At Step 8, the CCP-1 photogrammetry RMS review confirms implant position accuracy before CAD work begins. At delivery, the Sheffield one-screw test confirms passive fit in the mouth before final torque, which helps detect framework distortion that intraoral scanning alone can miss.
Frequently Asked Questions
How accurate does photogrammetry need to be for a full-arch prosthesis to achieve passive fit?
Acceptable deviation thresholds for passive fit in complete-arch implant-supported prostheses are critical for reducing long-term complication risk. A misfit across a full-arch prosthesis can be associated with screw loosening, framework fracture, and marginal bone loss. The iCam4D system used in the FAM Method achieves high 3D trueness and captures all implant positions simultaneously without image stitching, so accuracy does not degrade as implant count increases. The FAM Method includes a review at the CCP-1 checkpoint before any CAD work proceeds, and the Sheffield one-screw test at delivery confirms passive fit in the mouth before final torque is applied.
Is the 2–4 hour same-day delivery timeline realistic for a practice new to digital full-arch?
The 2–4 hour window is achievable when the workflow is structured around parallel execution and clear team delegation, not sequential dentist-dependent steps. The FAM Method allocates approximately 15 minutes for preoperative records, 20 minutes for CBCT and photogrammetry integration, 30 minutes for guide fabrication, 45 minutes for implant placement plus photogrammetry, 40 minutes for exocad design, 60 minutes for PMMA printing and finishing, and 30 minutes for delivery and verification.
The critical enabler is the lab technician beginning the prosthesis shell during surgical preparation rather than after surgery. This approach compresses what would otherwise be a sequential multi-hour design phase into parallel workflow execution. Practices new to the FAM Method typically reach consistent performance within the compressed timeline after their first several cases, once team roles and SOPs are documented and rehearsed. The FAM alumni community provides case-by-case support during that ramp period.
How much does team delegation actually affect monthly case volume?
Delegation is the primary lever for scaling from one or two arches per month to five or more. In a FAM-trained four-person team, the surgical assistant handles all preoperative records and photogrammetry capture, the lab technician runs parallel design and printing, and the treatment coordinator manages the consultation pipeline and scheduling without consuming dentist chair time.
A dentist running a solo or minimally delegated workflow often spends 60–90 minutes per case on non-billable steps that a trained assistant can own. Across five cases per month, the dentist can lose 5–7 hours of productive surgical time to administrative and records work. The FAM Method treats delegation as a structured protocol with defined role checklists and SOPs rather than an informal suggestion, which is why the team-based training model, bringing the dentist, surgical assistant, treatment coordinator, and lab technician through the same curriculum together, is central to the FAM pedagogy.
What is a realistic remake rate benchmark for a fully digital photogrammetry-first workflow?
The FAM Method maintains low remake rates through three verification checkpoints. The CCP-1 photogrammetry RMS review occurs before CAD, an optional verification jig try-in supports complex multi-implant cases, and the Sheffield one-screw test at delivery is used in every case. By contrast, frameworks derived from intraoral scanning alone can show higher rates of non-passive fit.
The difference is the photogrammetry-first foundation. Implant positions are captured with high trueness rather than the deviations often associated with full-arch intraoral scanning, so the CAD and milling steps begin from an accurate dataset and passive fit on first seating becomes more predictable.
Build the Workflow. Scale the Practice.
The FAM Method is a fully digital, photogrammetry-first workflow that delivers a passive-fit, screw-retained same-day prosthesis within the compressed timeline described above and gives a practice the team systems to run five-plus arches per month. Every FAM course is built for the full team, including dentist, surgical assistant, lab technician, and treatment coordinator, so the practice leaves aligned on one workflow and can execute it on day one.
Alumni report adding more than $1M per year in practice revenue after adopting the FAM Method, and every attendee joins a continued community of hundreds of FAM-trained dentists and team members for ongoing case support at no recurring cost. Register for an upcoming Full Arch Masters course and bring your full team to Fresno or Parker so you can implement the workflow the week you return.