Written by: Ryan Dunlop, CEO and Founder of Full Arch Masters and graduate from the Harvard School of Dental Medicine
Key Takeaways
- In-house dental lab training works best when it builds a complete team workflow that keeps production moving even when one person is out.
- Successful implementation starts with defining lab scope, mapping roles and handoffs, and creating standard operating procedures so every case runs the same way.
- Training pathways stay role-specific: dentists oversee the workflow, lab technicians master exocad and finishing, assistants own records acquisition, and treatment coordinators coordinate timing and expectations.
- Practices should run a pilot case with the full team, set quality-control checkpoints, and track remake rates and turnaround times to spot system issues early.
- Full Arch Masters trains complete teams through its Design and Finish Course, FP1 Course, and Flagship Course so practices can run the FAM Method workflow without single-person dependency.
Build Your Team's In-House Lab Workflow
Who Benefits From This Guide And What In-House Dental Lab Training Covers
This guide serves practice owners, dentists, lab technicians, dental assistants, and treatment coordinators at U.S. practices that already committed to in-house lab work or have a lab tech who needs a clear training path. It functions as an operational roadmap for leaders responsible for a P&L, not a career guide for people exploring dental technology as a profession.
Several terms appear throughout this guide and are defined here on first use. An in-house dental lab is a fabrication environment inside the practice that produces restorations without sending work to an external commercial lab. A digital dental lab workflow is the end-to-end process of acquiring patient data digitally, designing restorations in software, and fabricating them using additive or subtractive manufacturing, as opposed to an analog workflow built on PVS impressions, physical models, and off-site fabrication. Intraoral scanning is the chairside capture of oral anatomy using a handheld optical scanner. Photogrammetry records implant positions with high accuracy using calibrated markers and a camera system, which is especially valuable in full-arch cases where scan stitching errors accumulate over long spans. CBCT (cone beam computed tomography) is three-dimensional radiographic imaging used for surgical planning. Exocad is a CAD software platform used for dental prosthetic design. Immediate-load conversion is the fabrication of a provisional prosthesis delivered the same day as implant surgery. FP1, FP2, and FP3 are prosthetic classifications describing the relationship between the restoration and the soft tissue: FP1 replaces only the crown, FP2 replaces the crown and part of the root, and FP3 replaces the crown, root, and gingival tissue. Zirconia is a high-strength ceramic material used for final restorations. PMMA (polymethyl methacrylate) is an acrylic resin used for provisional restorations. PEEK (polyether ether ketone) is a high-performance polymer used in some definitive frameworks. MIYO ceramic layering is a characterization technique applied to zirconia restorations to achieve natural-looking aesthetics. Screw-retained describes a prosthesis fixed to implants with screws rather than cement. The single-point-of-failure risk is the operational vulnerability created when one person holds all the knowledge and skill required to run the lab.
The broader context shapes how a dentist should plan training. The U.S. dental lab industry has shifted from analog to digital for over a decade, yet most practices still run hybrid workflows that mix partial digital records, impressions, and off-site fabrication for complex cases. A fully digital, end-to-end workflow integrates intraoral scanning, photogrammetry, CBCT, CAD design, and in-house fabrication into one repeatable system. The gap between a hybrid workflow and a true end-to-end digital workflow is where many in-house lab attempts fail. Practices buy equipment, train one person on one component, and never connect the pieces into a functioning system.
U.S. regulatory considerations for in-house lab work vary by state. Dental laboratory work performed inside a dental practice is generally not subject to the same commercial lab licensing requirements that apply to standalone labs, but practices should verify their state dental board's rules on in-house fabrication, particularly for restorations delivered to patients of record. Infection control requirements for lab spaces, including separation of clean and contaminated zones, apply regardless of practice size or model.
Step-By-Step Process: How To Build And Train An In-House Dental Lab Team
Step 1: Decide What The Lab Will Actually Produce
Clear scope decisions guide every later investment. Decide which restorations the lab will produce in-house, such as immediate-load PMMA conversions, final zirconia, FP1, FP2, FP3, night guards, and surgical guides. Decide which case types will continue going to an external lab. Scope determines equipment, staffing, and training requirements. A lab that produces only PMMA temporaries needs a different setup than one that produces final zirconia full-arch restorations. Case volume matters too: practices producing fewer than 20 units monthly rarely achieve positive ROI on an in-house lab, while those exceeding 40 units monthly can reach breakeven within 18–24 months when systems support consistent production.
Step 2: Choose Whether To Train Existing Staff Or Hire A Certified Dental Technician
The train-versus-hire decision affects cost, speed, and risk. Hiring a Certified Dental Technician (CDT) brings verified competency but costs more: full-time lab technicians command $45,000–$65,000 annually plus benefits, with total compensation typically ranging from $55,000–$75,000. Training an existing team member costs less upfront but takes longer to reach full productivity. The hidden advantage of training existing staff is that they already understand the practice's clinical workflow, patient population, and internal communication patterns, knowledge that a new hire needs months to acquire. The hidden risk is that the U.S. dental lab technician workforce is shrinking, with retirements outpacing new entrants by nearly 3:1, which makes experienced external hires harder to find and retain. Either path requires structured training and a plan for redundancy to avoid the single-point-of-failure risk introduced earlier.
Step 3: Map Roles And Handoffs Before Training Anyone
The most common in-house lab failure is a handoff failure, not a skills gap. Before any team member attends a course, map who does what at every step of the case. For each step, including intraoral scanning, photogrammetry capture, CBCT import, exocad design, print setup, zirconia finishing, chairside delivery, and patient communication about aesthetics, name the person responsible and their backup. This role map forms the foundation of the “one team, one workflow” principle. Every undefined handoff becomes a point where cases stall, records get lost, or the dentist ends up doing non-billable lab work because no one else owns the step.
Step 4: Select The Training Pathway By Role
Role-based training keeps the workflow efficient. The dentist needs to understand the full digital workflow well enough to direct it, troubleshoot it, and make design decisions. The lab technician needs deep competency in exocad design and aesthetic finishing. The assistant needs hands-on proficiency in records acquisition, including intraoral scanning, photogrammetry, and CBCT coordination. The treatment coordinator needs to understand the workflow well enough to set patient expectations and coordinate case timing.
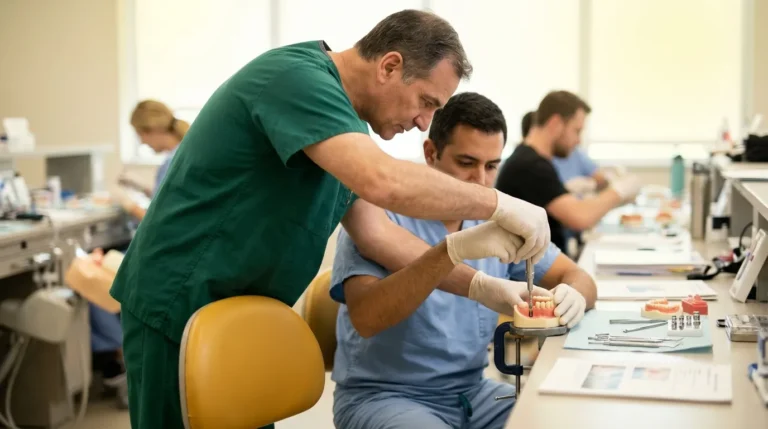
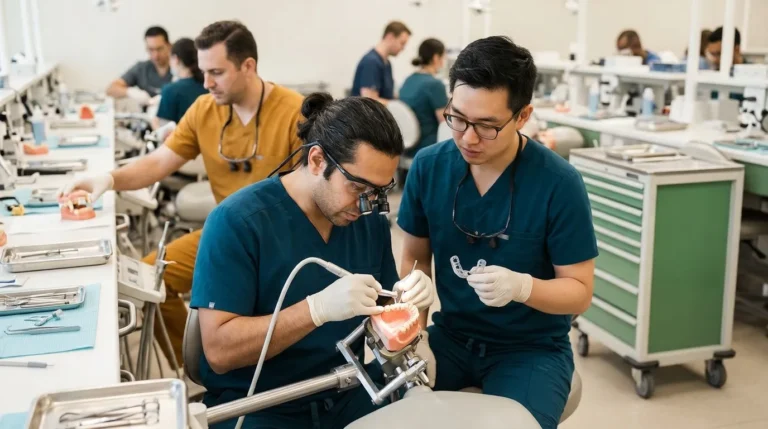
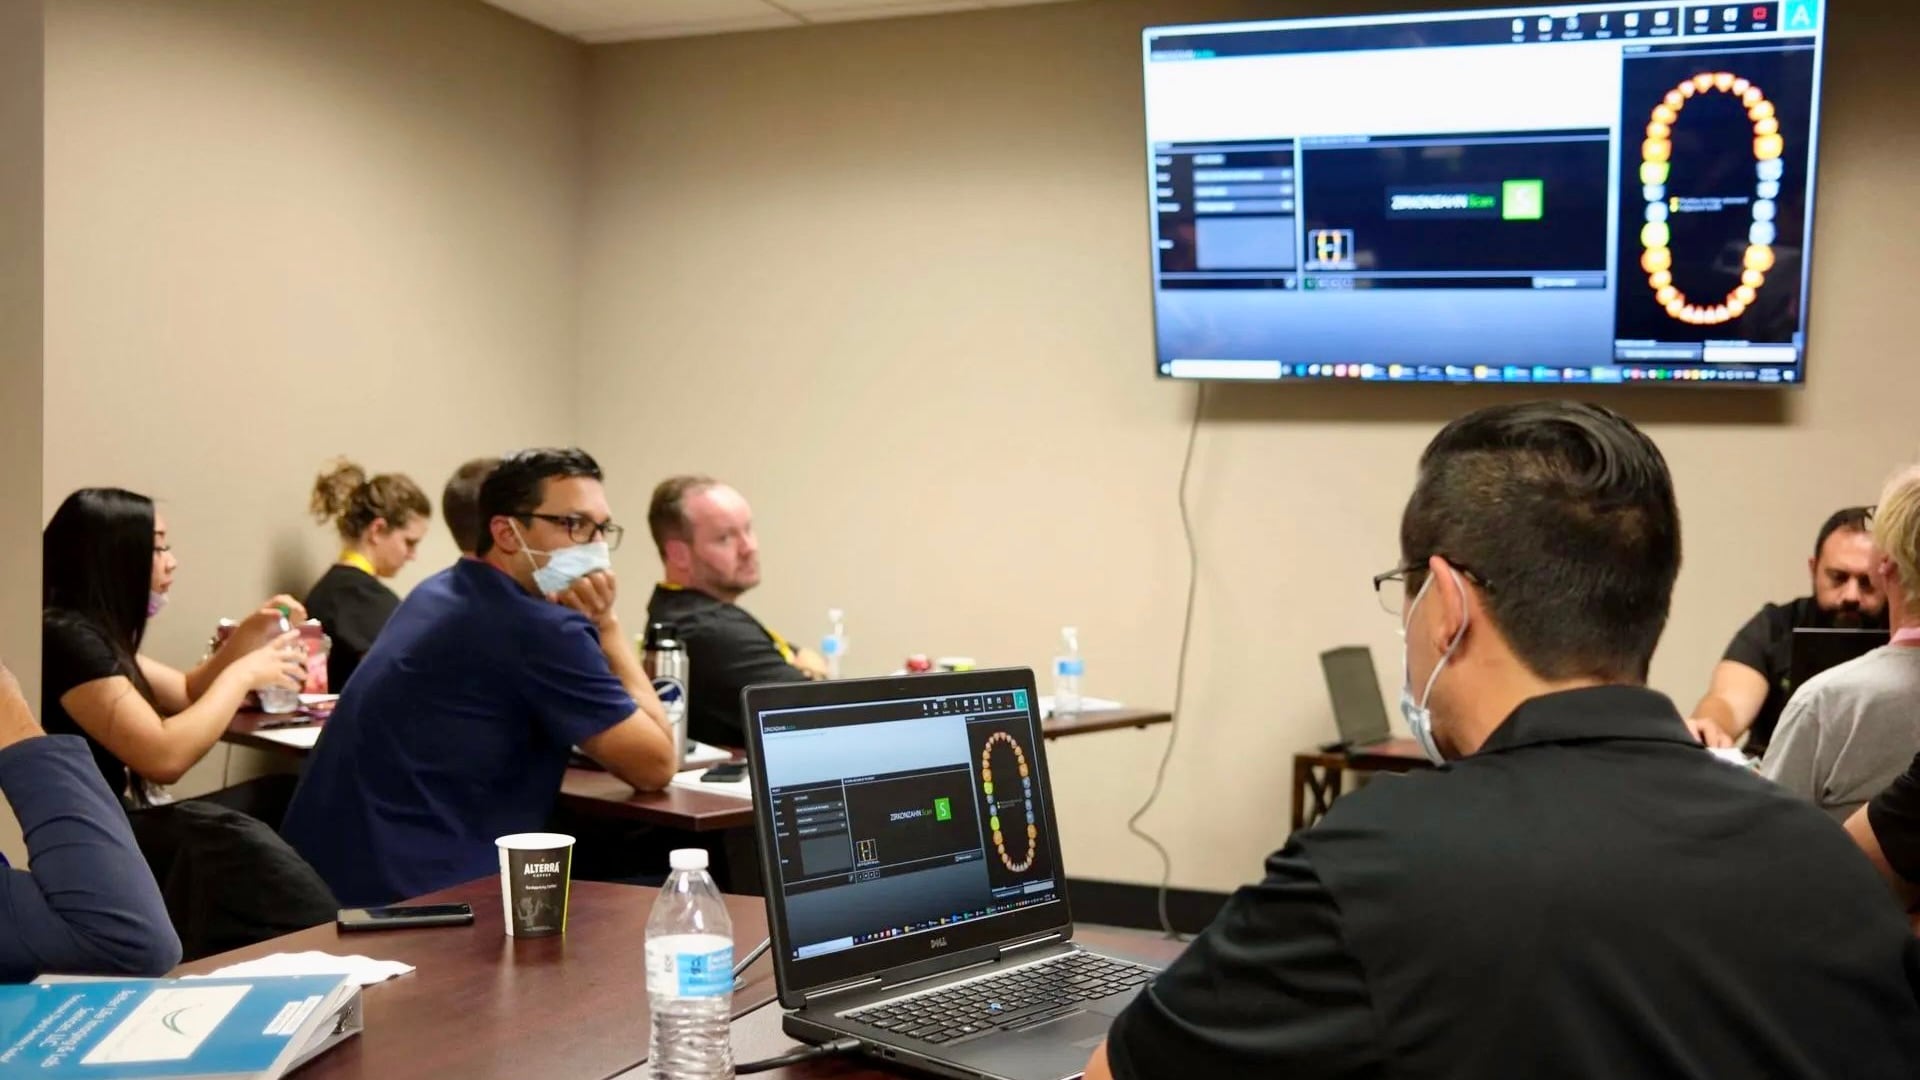
Full Arch Masters structures its curriculum around these role distinctions. The Design and Finish Course is the dedicated lab-side training. It runs four days: two days of digital design in exocad, covering preop records, digital mockups, surgical alignment devices, immediate-load prosthetics, and final zirconia design. The course then provides two days of hands-on aesthetic finishing on pre-sintered and post-sintered zirconia using MIYO ceramic layering. FAM separates beginners from advanced designers so each track runs at the right skill level. The FP1 Course pulls lab technicians aside for FP1-specific design instruction, which differs from FP2 and FP3 workflows in case selection, root banking, and design approach. The Flagship Course trains the full team, including dentist, assistant, treatment coordinator, and lab technician, on the complete FAM Method workflow. The team leaves aligned on one system. Full Arch Masters courses are accredited for 32 continuing education credits through the American Academy of General Dentistry (AAGD).
Step 5: Build The Digital Workflow End To End
The FAM Method organizes the full-arch digital workflow into seven sequential steps so the dentist can see the entire path. Each step has specific lab-side requirements that the team must understand before they can execute reliably.
- Preoperative records and data acquisition capture facial photographs, diagnostic records, and baseline data that inform design decisions before surgery begins.
- Photogrammetry and intraoral scanning capture implant positions with photogrammetry for accuracy across long spans, combined with intraoral scanning for soft tissue and arch anatomy. Photogrammetric workflows have demonstrated significantly lower interimplant distance deviation than intraoral scanning alone in complete-arch cases, which supports passive fit in full-arch restorations.
- CBCT and digital treatment planning integrate three-dimensional imaging with scan data to guide implant positioning and prosthetic design.
- Exocad design covers CAD design of the restoration in exocad, from immediate-load provisional through final prosthetic design.
- Immediate-load conversion fabricates and delivers the 3D-printed provisional prosthesis on the day of surgery.
- Final zirconia design and finishing mills or prints the final zirconia restoration, followed by characterization, MIYO ceramic layering, and quality inspection.
- FP1-specific design and workflow scaling uses a distinct design and fabrication pathway for FP1 cases and defines the systems and delegation protocols that allow the workflow to scale across increasing case volume.
Each step requires the lab team to understand what the clinical team delivers and what they need in return. Scans that arrive without margin markings, photogrammetry data that is not imported correctly, or design approvals that skip the dentist's review all create downstream rework. The workflow stays only as strong as its weakest handoff.
Step 6: Set Up The Physical Lab And Quality-Control Checkpoints
Physical setup and checkpoints protect quality and safety. Equipment categories for a full-arch in-house lab include an intraoral scanner, a photogrammetry system, and CAD/CAM design workstations with exocad licenses. The lab also needs a 3D printer for PMMA provisionals, a sintering furnace for zirconia, and a finishing station for characterization and polishing. Total initial capital costs for an in-house milling setup range from $55,000 to $263,000+ depending on equipment tier. Annual ongoing operating costs add another $34,000–$125,000. Infection control requires physical separation of clean and contaminated zones, proper ventilation, and compliance with OSHA standards for lab environments. Quality-control checkpoints should be established at four stages: design approval, post-print inspection, post-finish inspection, and delivery. At each stage, a named person confirms that the case meets defined criteria before it moves forward.
Step 7: Go Live On A Pilot Case And Debrief
A single pilot case gives the team a safe test of the full system. Run one case end to end with the full team before scaling. Choose a straightforward case rather than the most complex indication in the queue. After delivery, hold a structured debrief that reviews turnaround time at each step, handoff errors, design revisions, and finish quality against the approved design. In-house dental labs should target remake rates below 3–5%; rates above 8% indicate system problems. The pilot case surfaces those problems before they become patterns. Once the team has run that first case, the next step is to formalize the workflow with reusable frameworks that any trained team member can follow.
Frameworks, Models, And Practice Examples For In-House Labs
The seven steps above give the sequence. The following frameworks give the tools to execute that sequence consistently across the team.
A role-mapping chart assigns each step of the workflow to a named team member and a backup. It is a single-page document that answers the question “who does this?” for every step from scan acquisition to case delivery. A standard operating procedure (SOP) for each step documents the inputs required, the actions taken, and the outputs produced so any trained team member can execute the step. A case-selection protocol defines which cases go in-house and which go out, based on complexity, material, and current lab capacity. A lab case log tracks every case from scan to delivery, recording turnaround time, remake events, and handoff notes.
Three practice types show how the same process adapts. A solo general dentist adding a single in-house lab tech typically starts with PMMA provisional fabrication and exocad design while outsourcing final zirconia milling until volume justifies the equipment investment. The single-point-of-failure risk is highest in this setting, so cross-training the lead assistant on basic design tasks becomes the key redundancy investment. A group practice building a two-person lab can divide design and finishing between two technicians, which creates natural redundancy and allows specialization. A specialist practice integrating lab work with surgical cases, such as an oral surgeon or periodontist running full-arch implant cases, benefits most from photogrammetry proficiency and immediate-load conversion capability. For these practices, same-day delivery is the primary value driver.
The table below compares three lab models on four operational dimensions. The key takeaway: fully in-house labs provide the fastest turnaround and lowest per-unit cost at volume, but they require the highest capital and training investment, so most practices start hybrid and transition as volume grows. Cost data are drawn from published analyses and reflect U.S. market conditions.
| Model | Typical Turnaround (Calendar Days) | Estimated Per-Unit Cost | Estimated Training Hours To Productivity |
|---|---|---|---|
| Fully In-House | 0–1 | $25–$45 | 80–120 |
| Hybrid (In-House Routine, Outsource Complex) | 1–3 (routine) / 5–7 (complex) | $25–$45 (in-house) / $70–$180 (outsourced) | 40–60 |
| Fully Outsourced | 5–7 (digital) / 8–12 (physical) | $85–$150 | 0 |
No single model fits every practice. The right model depends on case volume, available capital, staffing capacity, and the dentist's clinical goals. Practices running high-volume full-arch cases with same-day delivery as a clinical differentiator have the strongest case for a fully in-house model. Practices with lower volume or limited capital often find a hybrid model more sustainable in the first 12–24 months.
Common Challenges And Troubleshooting
Most practices encounter a similar set of obstacles while building in-house labs. Each challenge below includes signs, likely root causes, and practical ways to address it.
The single-point-of-failure problem. Signs include the lab stopping when one person is out, the dentist being unable to answer basic questions about the design workflow, and no one else knowing how to set up a print job. The root cause is training delivered to one person without a cross-training plan. Fix this by identifying a second team member, typically the lead assistant, and enrolling them in the same training pathway. Document every step of the workflow in an SOP before the primary tech's knowledge becomes irreplaceable.
Handoff friction between clinical and lab sides. Signs include scans arriving without margin markings, designs that do not match clinical intent, and the lab waiting on records the clinical team did not know they needed to capture. The root cause is a missing handoff protocol. Fix this by creating a case submission checklist that the clinical team completes before any case enters the lab queue. Review the checklist at the pilot case debrief and refine it based on what was missing.
Training one person instead of the team. Signs include the dentist returning from a course energized while the assistant and treatment coordinator do not know the new workflow, so nothing changes in the practice. The root cause is a training investment made in one role rather than the system. Fix this by bringing the full team to training together. The FAM Flagship Course is built for this structure, with the dentist, assistant, treatment coordinator, and lab technician attending together and leaving aligned on one workflow. Practices with structured training systems experience 40% lower turnover and higher patient satisfaction scores than practices without them.
Falling behind on materials and finishing techniques. Signs include restorations that look dated, new zirconia systems that the team does not know how to use, and PEEK and ceramic layering techniques that have not been updated since initial training. The root cause is treating continuing education as a one-time event instead of an ongoing investment. Fix this by budgeting for annual continuing education per team member and prioritizing courses that cover new material systems and finishing techniques as they enter the market.
Underestimating the timeline from “designate a tech” to “productive in-house lab.” Signs include expecting to run cases in four weeks and still lacking consistent production after three months. The root cause is a longer timeline from equipment installation to full productivity than most vendors describe. Successful in-house lab implementation follows a structured 12–16 week timeline, with 2–4 weeks of reduced productivity during technician training and system integration. Plan for this period, maintain external lab relationships during the transition, and set realistic internal expectations. Once the lab is running, the dentist needs objective ways to confirm that it is performing as intended.
Measuring Success
Clear metrics help a dentist confirm that the in-house lab is working. Objective indicators include turnaround time per case, remake rate, handoff errors per case, chair time per arch, lab utilization measured as cases produced per available lab day, case acceptance rate for full-arch treatment, and consistency of outcomes across cases and team members.
Simple tracking methods work well in daily practice. A lab case log records every case from scan submission to delivery, including turnaround time and any remake events. A weekly team debrief of five to ten minutes reviews completed cases and any handoff issues. A monthly case review compares remake rate and turnaround against the prior month. A simple dashboard tracks turnaround and remakes as the two primary leading indicators of lab health.
Early progress in the first 90 days should be evaluated against the pilot case baseline. The dentist should confirm that turnaround time is improving, the remake rate is trending toward the target established in Step 7, and handoff errors are decreasing. Sustained performance over 6–12 months should be evaluated against the practice's original scope definition. The lab should be producing the case types it was designed for, volume should be at or above the breakeven threshold, and the team should run the workflow without the dentist managing individual steps.
Advanced Considerations And Iteration
Once the in-house lab runs consistently on its initial scope, the dentist can consider several advanced adaptations. Scaling volume requires evaluating whether current staffing and equipment can absorb additional cases without degrading turnaround or quality. In most practices, the next move is a second trained team member before additional equipment. Expanding indications to include FP1 cases, atrophic arch workflows, and zygomatic and pterygoid cases requires both clinical and lab-side training specific to those workflows. The FAM FP1 Course addresses the lab-side requirements for FP1 specifically. Increasing digital integration, such as adding photogrammetry to every full-arch case and incorporating facial scanning for aesthetic design, improves accuracy and reduces remakes but requires team-wide proficiency, not just the lab tech's skills. Standardizing across multiple locations requires documented SOPs, shared design libraries in exocad, and a training pathway that can onboard new team members at each location without starting from scratch.
Readiness criteria for each expansion should be defined before the practice begins. The dentist should decide what remake rate and turnaround time the current workflow must sustain before adding new indications and what volume threshold justifies additional equipment. Pilot testing each expansion on a small case set before full rollout prevents new complexity from destabilizing a workflow that already works.
Frequently Asked Questions (FAQ)
What Skills Does An In-House Dental Lab Technician Need?
A modern in-house lab technician working in a full-arch digital workflow needs proficiency in intraoral scan data interpretation, CAD design in exocad or a comparable platform, 3D printer operation and troubleshooting, zirconia milling or print-and-sinter workflows, and aesthetic finishing techniques including characterization and ceramic layering. They also need strong communication skills for handoffs with the clinical team. Understanding what the dentist needs from a design before fabrication begins is as important as the fabrication itself. Technicians who are strong in design but weak in finishing, or the reverse, produce inconsistent outcomes, so both competencies matter for a productive in-house lab.
How Long Does It Take To Train An In-House Lab Tech?
Timeline depends on the technician's starting point and the scope of the lab. On-the-job training durations for dental laboratory technicians vary widely, from a few days to a year or more, and the time to reach consistent productivity on routine cases differs from the time needed to handle complex full-arch design and finishing independently. Structured course-based training compresses the early learning curve compared to on-the-job trial and error. Plan for 2–4 weeks of reduced productivity immediately after training as the technician integrates new skills into the practice's specific workflow.
Do You Need A Certified Dental Technician To Run An In-House Lab?
In the United States, dental laboratory work does not require licensure, and the Certified Dental Technician (CDT) credential is voluntary. A CDT brings verified competency across multiple specialty areas, but many highly productive in-house lab technicians train through structured continuing education rather than formal degree programs or CDT certification. Operationally, what matters is whether the technician can execute the specific workflows the practice needs, including design, fabrication, and finishing for the case types in scope, not whether they hold a particular credential.
Should You Train Existing Staff Or Hire A Certified Dental Technician?
Both paths can work when supported by a system. Training existing staff preserves institutional knowledge of the practice's clinical workflow and patient population, costs less upfront, and reduces the risk of hiring into a shrinking labor market. Hiring a CDT brings faster initial competency but requires onboarding to the practice's specific systems and carries higher compensation costs. The more important question is whether the chosen path includes a cross-training plan for a second team member, because redundancy prevents the single-point-of-failure problem described earlier.
How Do You Integrate An In-House Lab Into Your Clinical Workflow?
Integration starts with role mapping. Define who acquires records, who submits cases to the lab, who approves designs, and who delivers restorations chairside. Then build a case submission checklist that the clinical team completes before any case enters the lab queue. Establish design approval as a formal step so the dentist reviews the digital design before fabrication begins. Run a pilot case with the full team before scaling, as outlined in Step 7, and debrief on every handoff. The lab is fully integrated when the clinical team knows what the lab needs and the lab team knows what the clinical team is delivering.
What Happens When Your Trained Lab Tech Leaves?
If the lab tech is the only person who knows the workflow, the lab stops. The answer is cross-training a second team member, typically the lead assistant, before the primary tech's knowledge becomes irreplaceable. Document every step of the workflow in a standard operating procedure so the process lives in the system rather than in one person's head. Practices that build cross-training into the training plan from the start absorb turnover without losing lab productivity.
What Does In-House Dental Lab Training Cost?
Structured course-based training for a lab technician typically ranges from $3,000–$8,000 depending on the program's depth and duration. Equipment training provided by manufacturers generally costs $2,000–$5,000. Ongoing continuing education should be budgeted at $1,000–$2,000 per team member annually. These figures are separate from equipment and facility costs, which were covered in Step 6.
Is In-House Lab Work Cheaper Than Outsourcing?
At sufficient volume, in-house production usually reduces per-unit cost. Outsourced crown pricing typically ranges from $85–$150 per unit, while in-house production can reduce per-unit costs to $25–$45 at volume. In-house production also requires absorbing fixed costs, including equipment, labor, maintenance, and software licenses, regardless of case volume. Practices producing fewer than 20 units monthly rarely achieve positive ROI on an in-house lab. The breakeven point for most mid-tier setups is approximately 35–40 units per month, reached within 14–20 months when systems are implemented correctly.
Conclusion: Turning Training Into A Scalable Lab System
Training one person to run an in-house lab creates a liability for the practice. In-house dental lab training works best when the dentist treats it as a team-and-workflow project. The equipment is a tool. The software is a tool. The system is what makes the lab productive, redundant, and scalable, and redundancy prevents the single-point-of-failure risk discussed earlier.
The FAM Method, Full Arch Masters' proprietary fully digital workflow, integrates intraoral scanning, photogrammetry, facial scanning, CBCT imaging, exocad design, 3D-printed immediate-load conversion, and same-day final delivery into a single repeatable system. The Design and Finish Course, FP1 Course, and Flagship Course train the full team together so the practice can run an in-house lab with confidence. Alumni report adding $1M+ per year in practice revenue after adopting the workflow.
If closing more of the full-arch cases your practice already sees is the next constraint, the Full Arch Masters Treatment Coordinator Bootcamp trains the front-office team on the closing system FAM's in-house treatment coordinator uses to maintain an 80% close rate. This training becomes a natural next step once the lab workflow is in place.
Train Your Team To Close More Full-Arch Cases